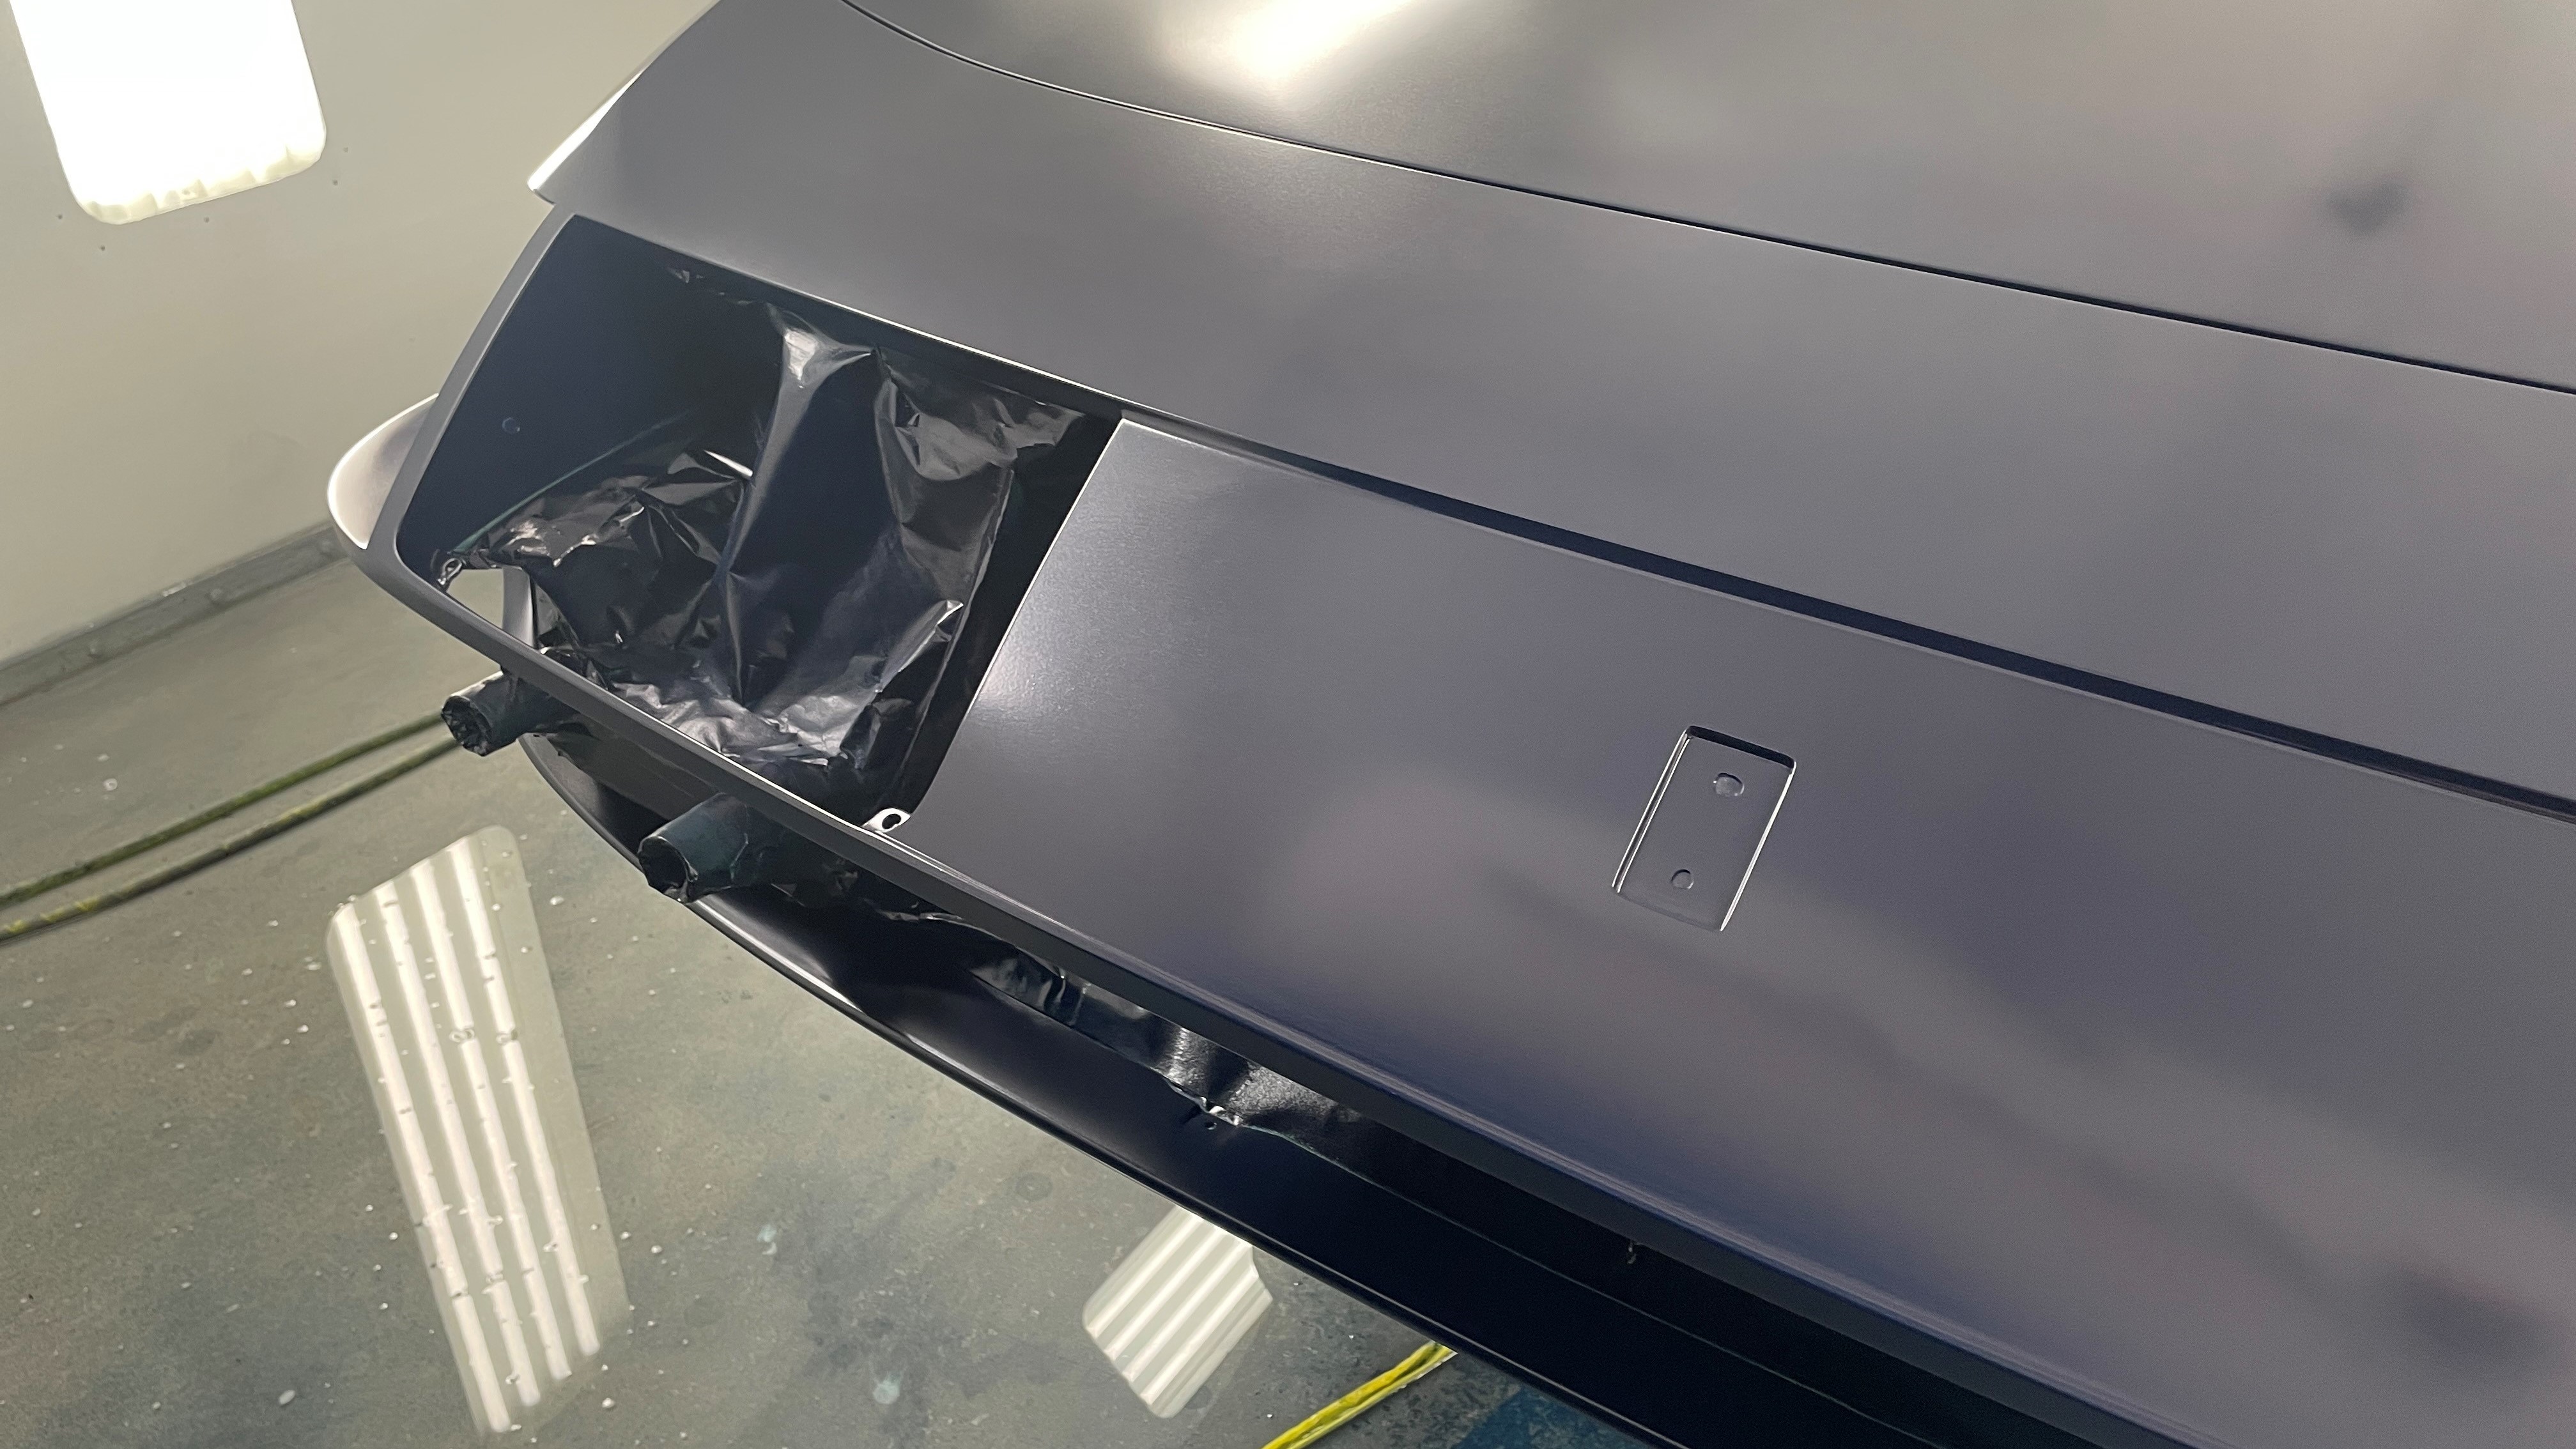
The Prancing Pozzi Paint
At Farland Classic Restoration, we've been selling like crazy with all the collections moving through! Today we'll spin over to the shop side of things as one of our bigger restorations rolls into the paint booth. Join us as we cover the Prancing Pozzi Paint on our Ferrari 365 GTB/4 'Daytona' restoration.
If you've been keeping up with the four-cam V12 fun, you know we've spent thousands of hours getting into the Rosso Corsa paint, documenting each and every part, and getting this stallion down to the bare metal. Since then our team has spent countless hours blocking, sanding, prepping, and priming the bodywork.
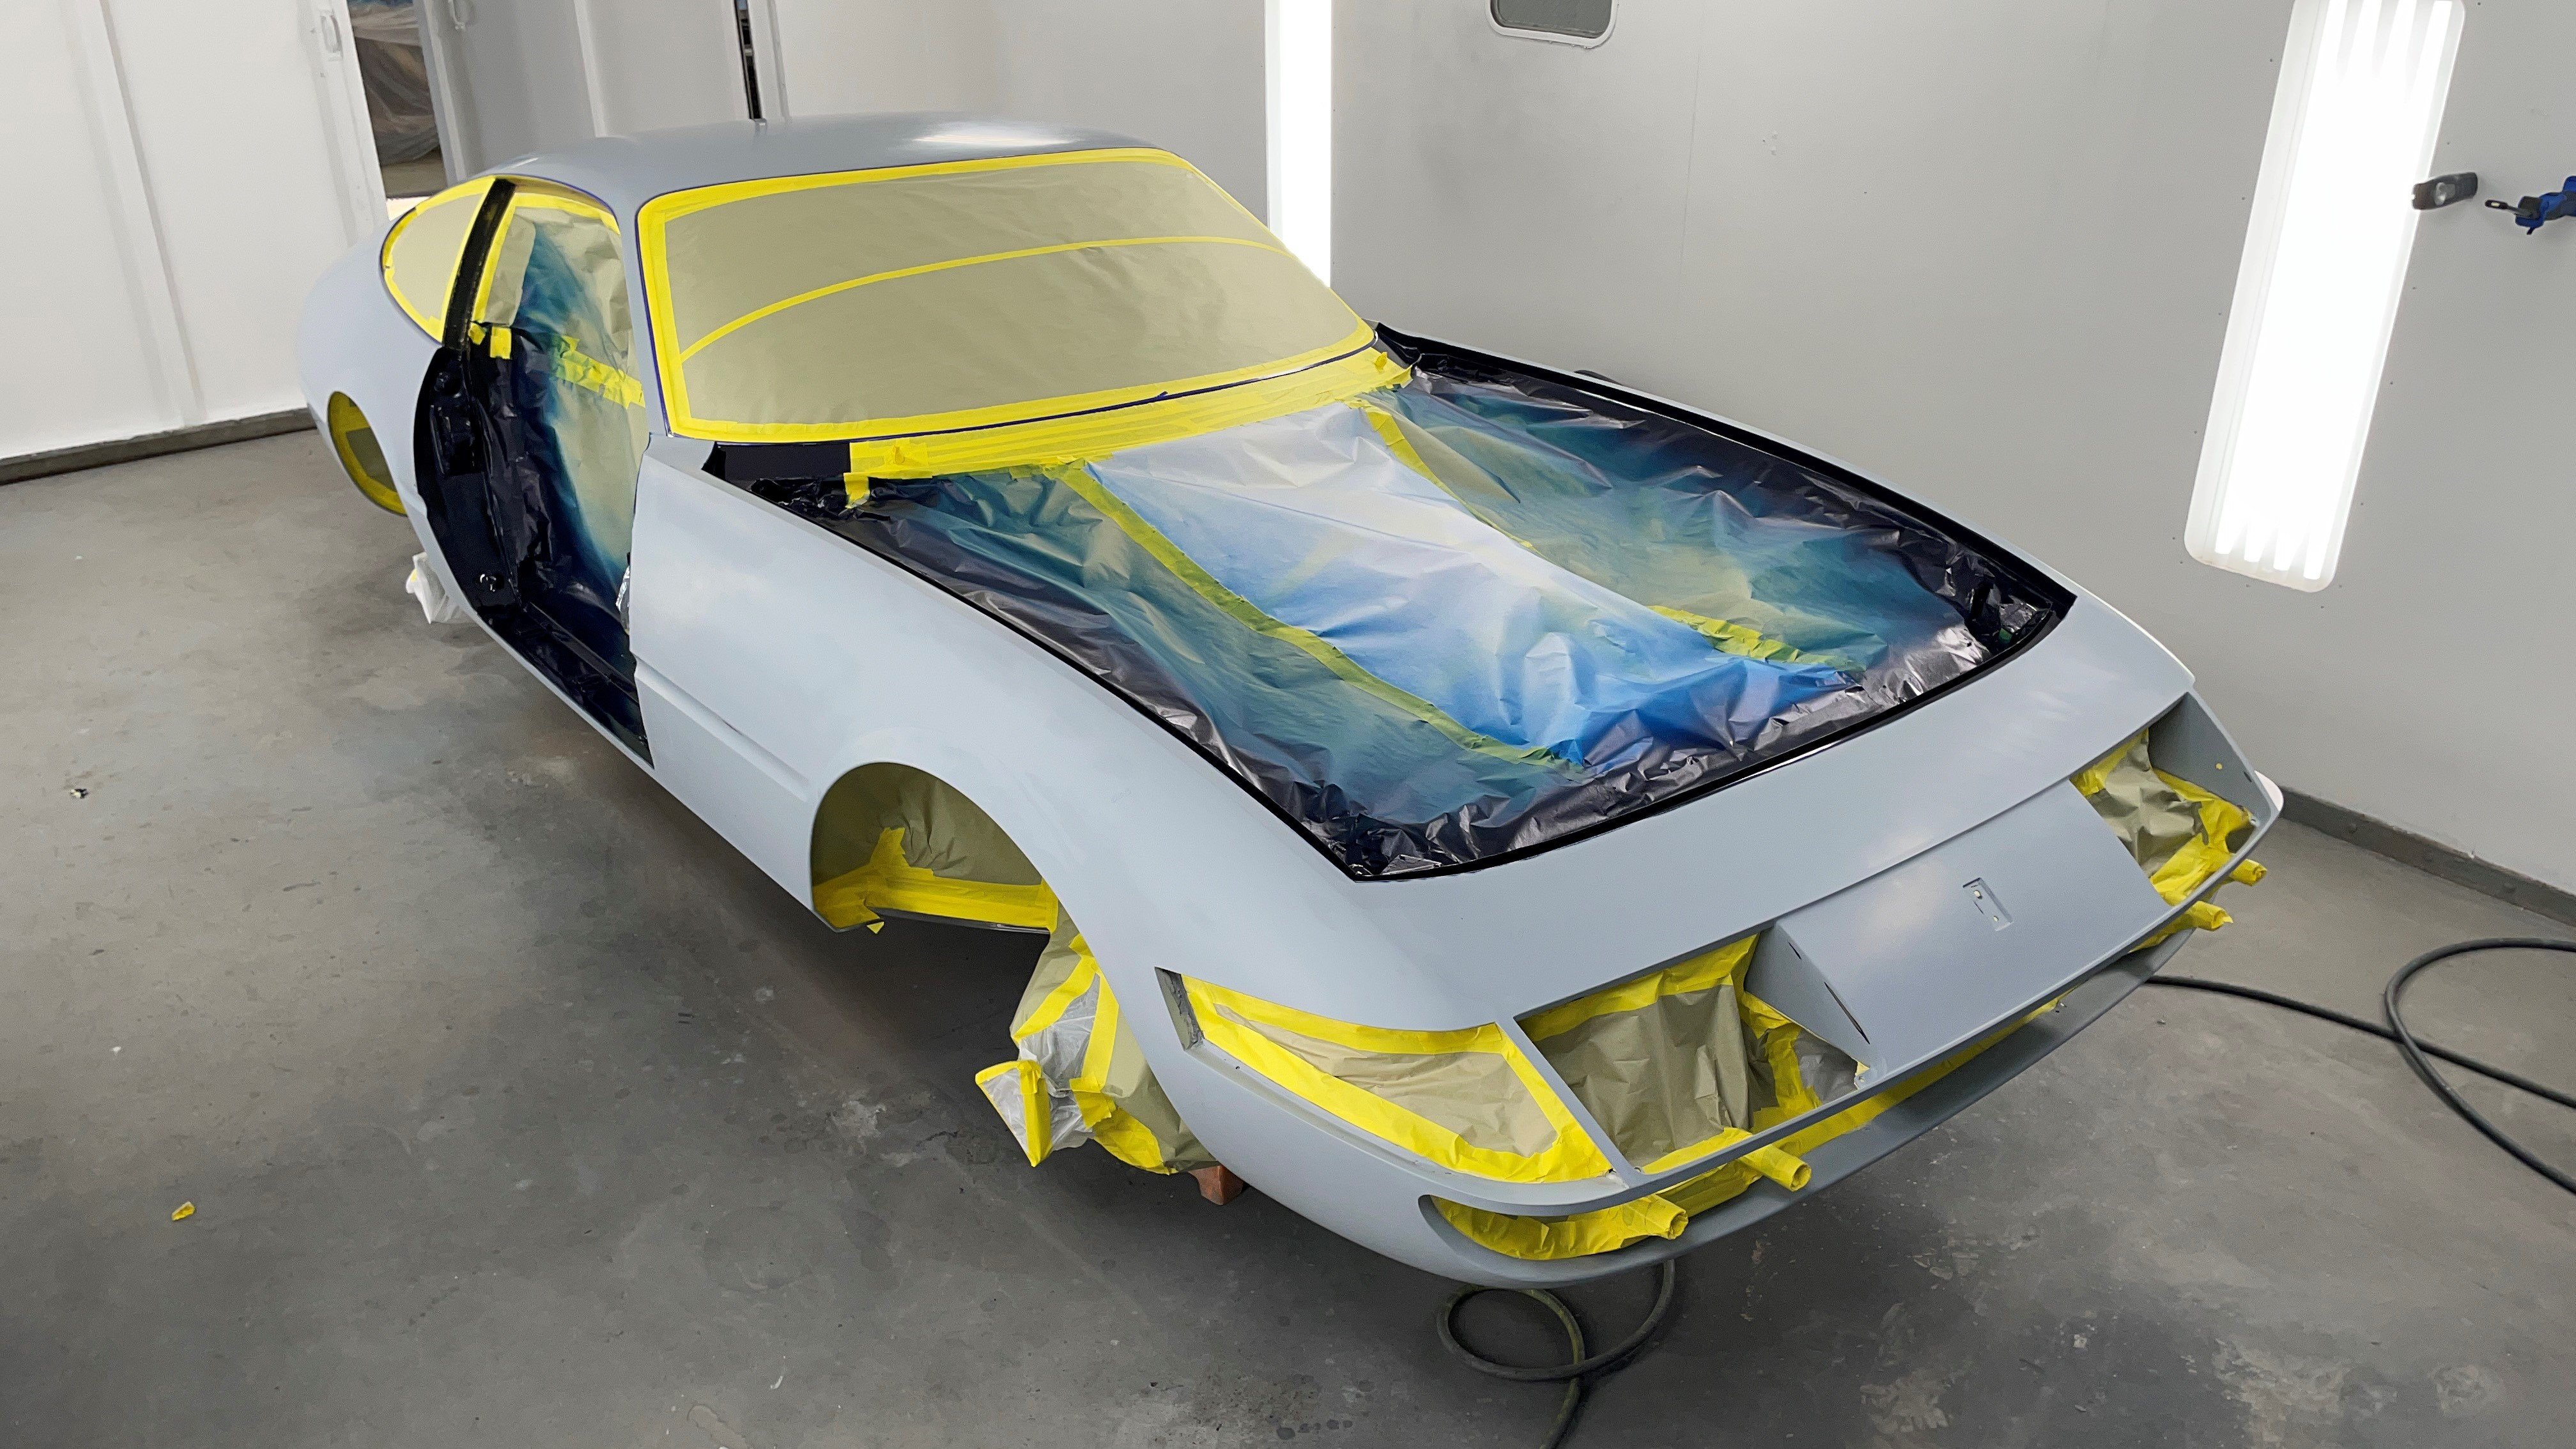
Our technicians ensured every line and angle throughout this 365GTB/4 was better than when it left the factory back in 1973. Currently, the team is methodically working on the painting process. First came tons of masking and miles of tape. Our bodymasters carefully taped off multiple layers on this icon so we could slowly peel away masking as we worked our way through. We initially started by spraying the doorjambs, trunk, and hood which got us started two nights ago.
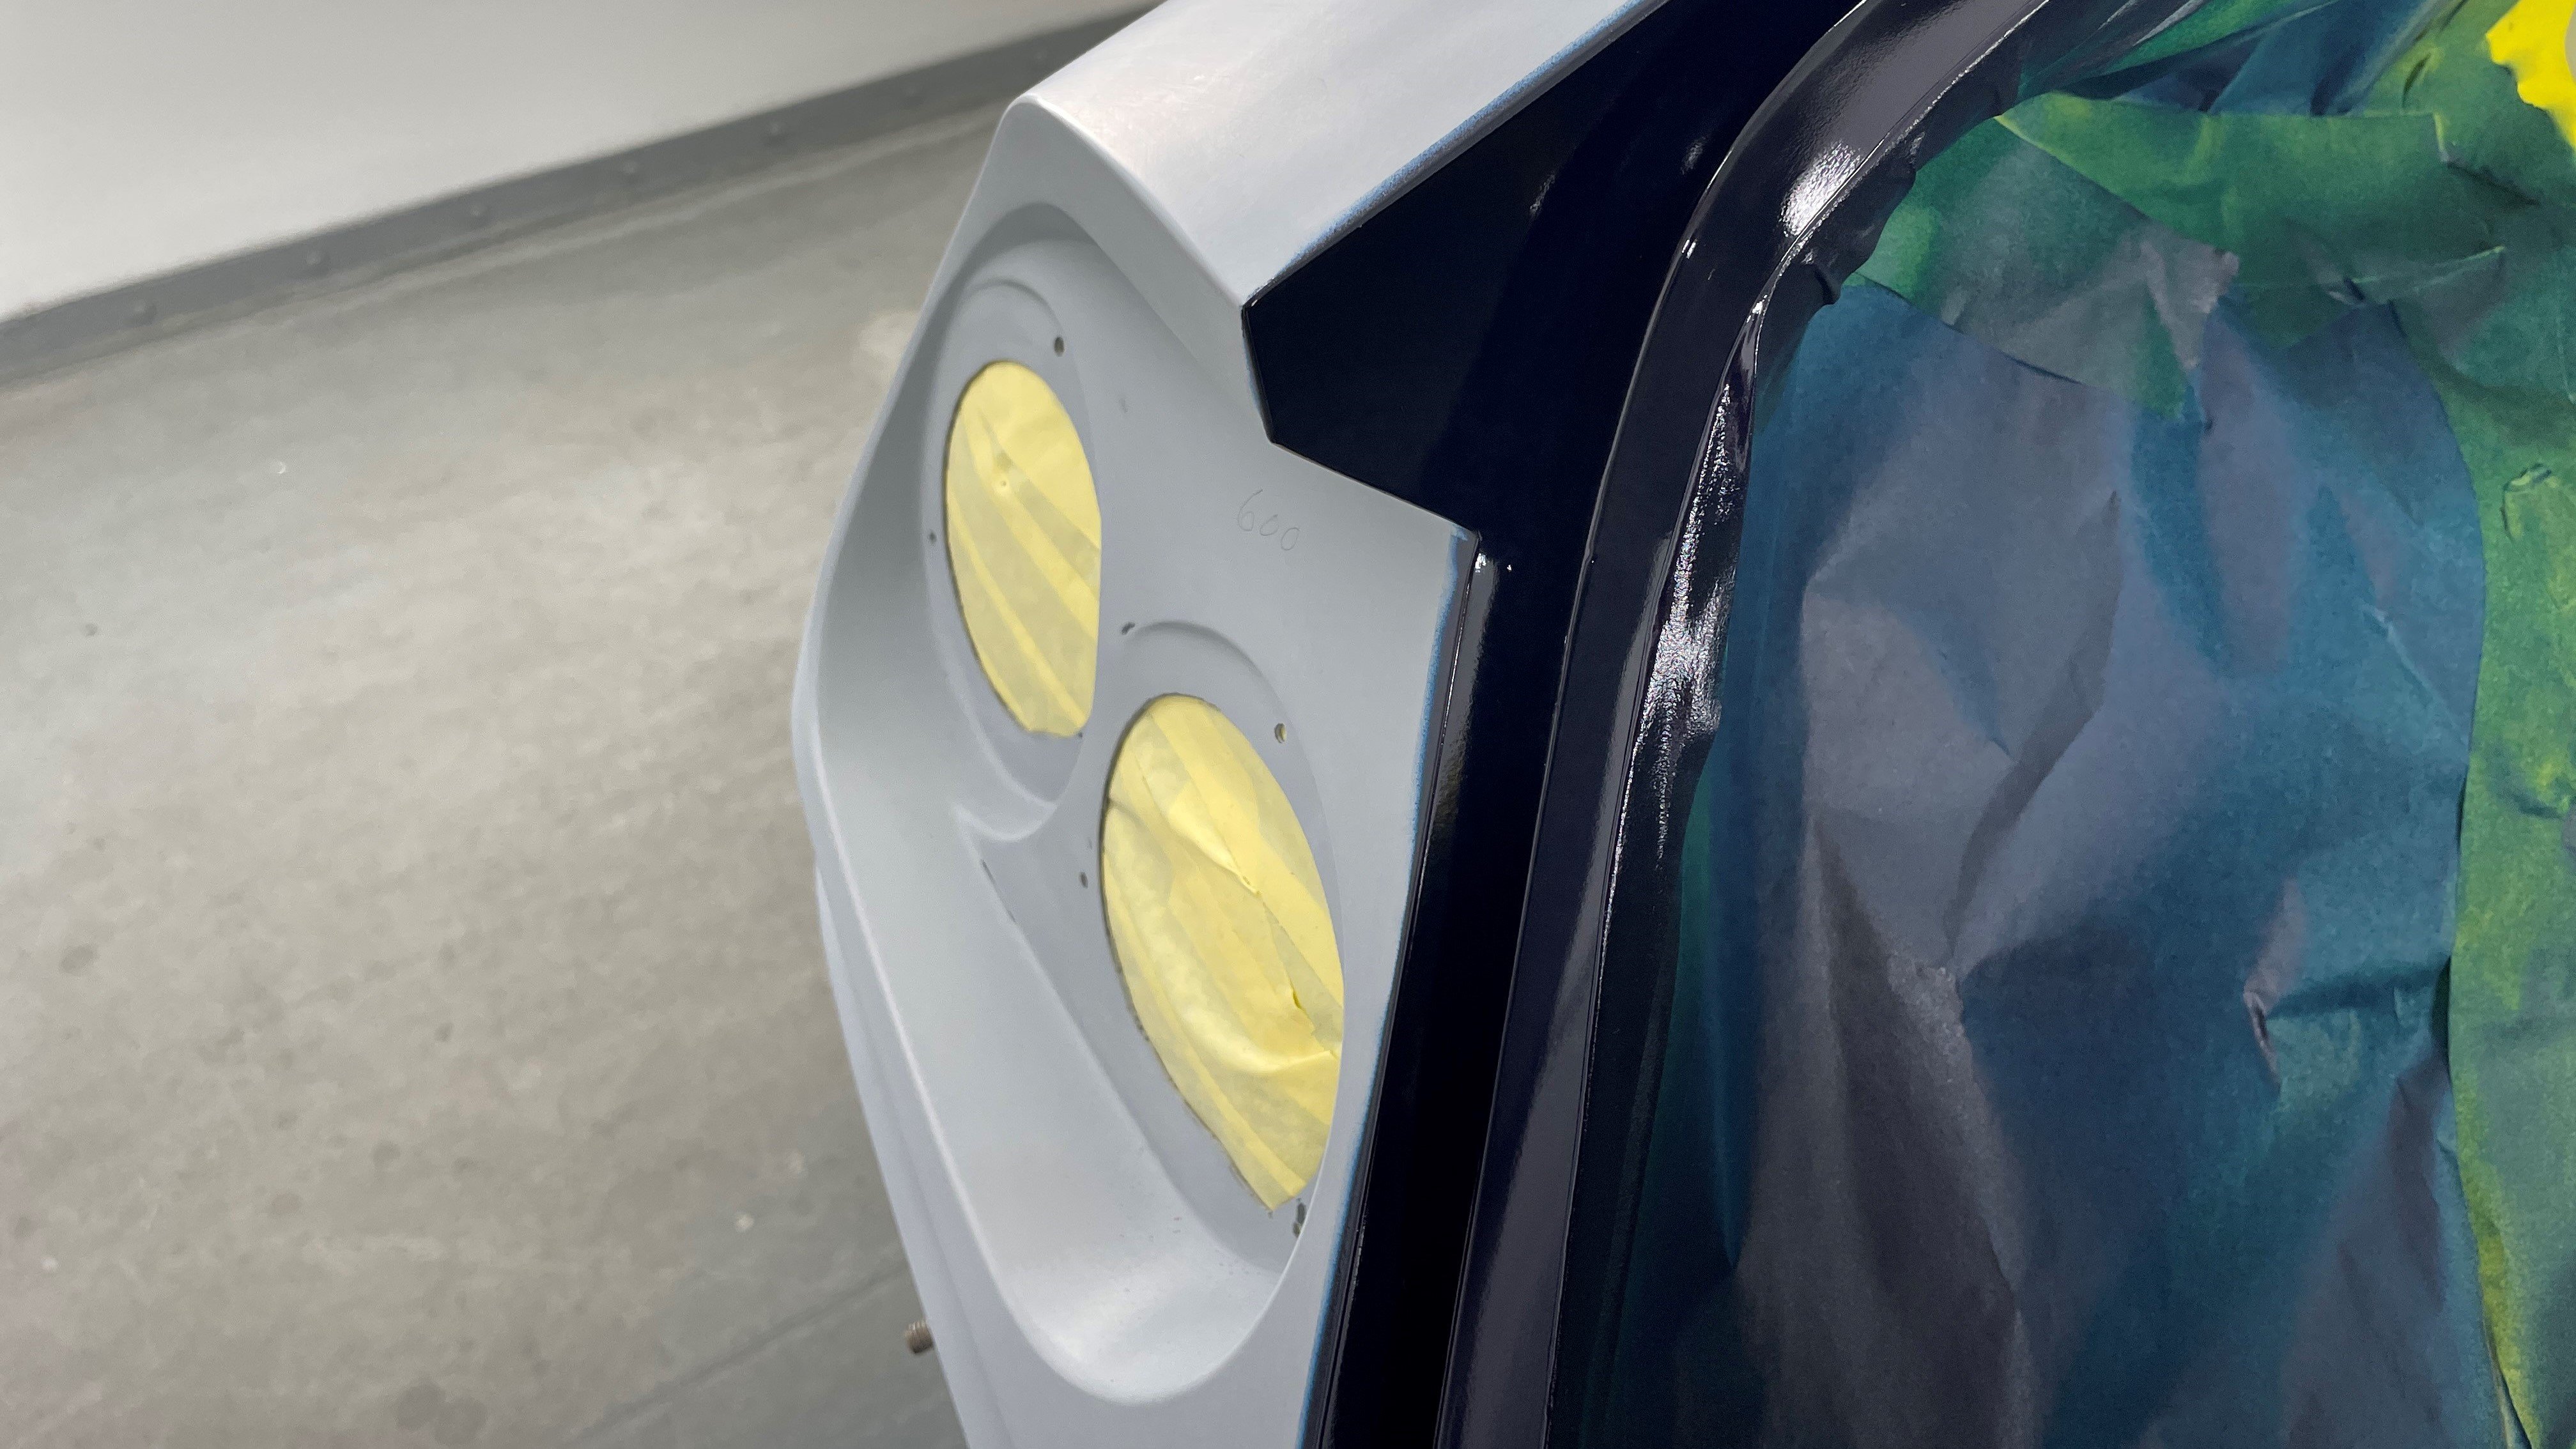
From there, our team slowly peeled away the masking for the jambs revealing the under-masking they'd done before the first spray. Next up we hung the doors, trunk, and hood which all saw a coat of Pepsi Blue sealant yesterday afternoon. During the first coat of sealant, Pat went live over on our Instagram page where you could see Jeremy and Jack spraying the first coat onto the car. You can check that out here.
While the night-shift of Jack, Jeremy, and Pat chewed down on some pizza, we gave the sealant time to set. Then we jumped back in the booth to start laying down the unique Pozzi Blu that was more common on the 80s and 90s Ferraris.
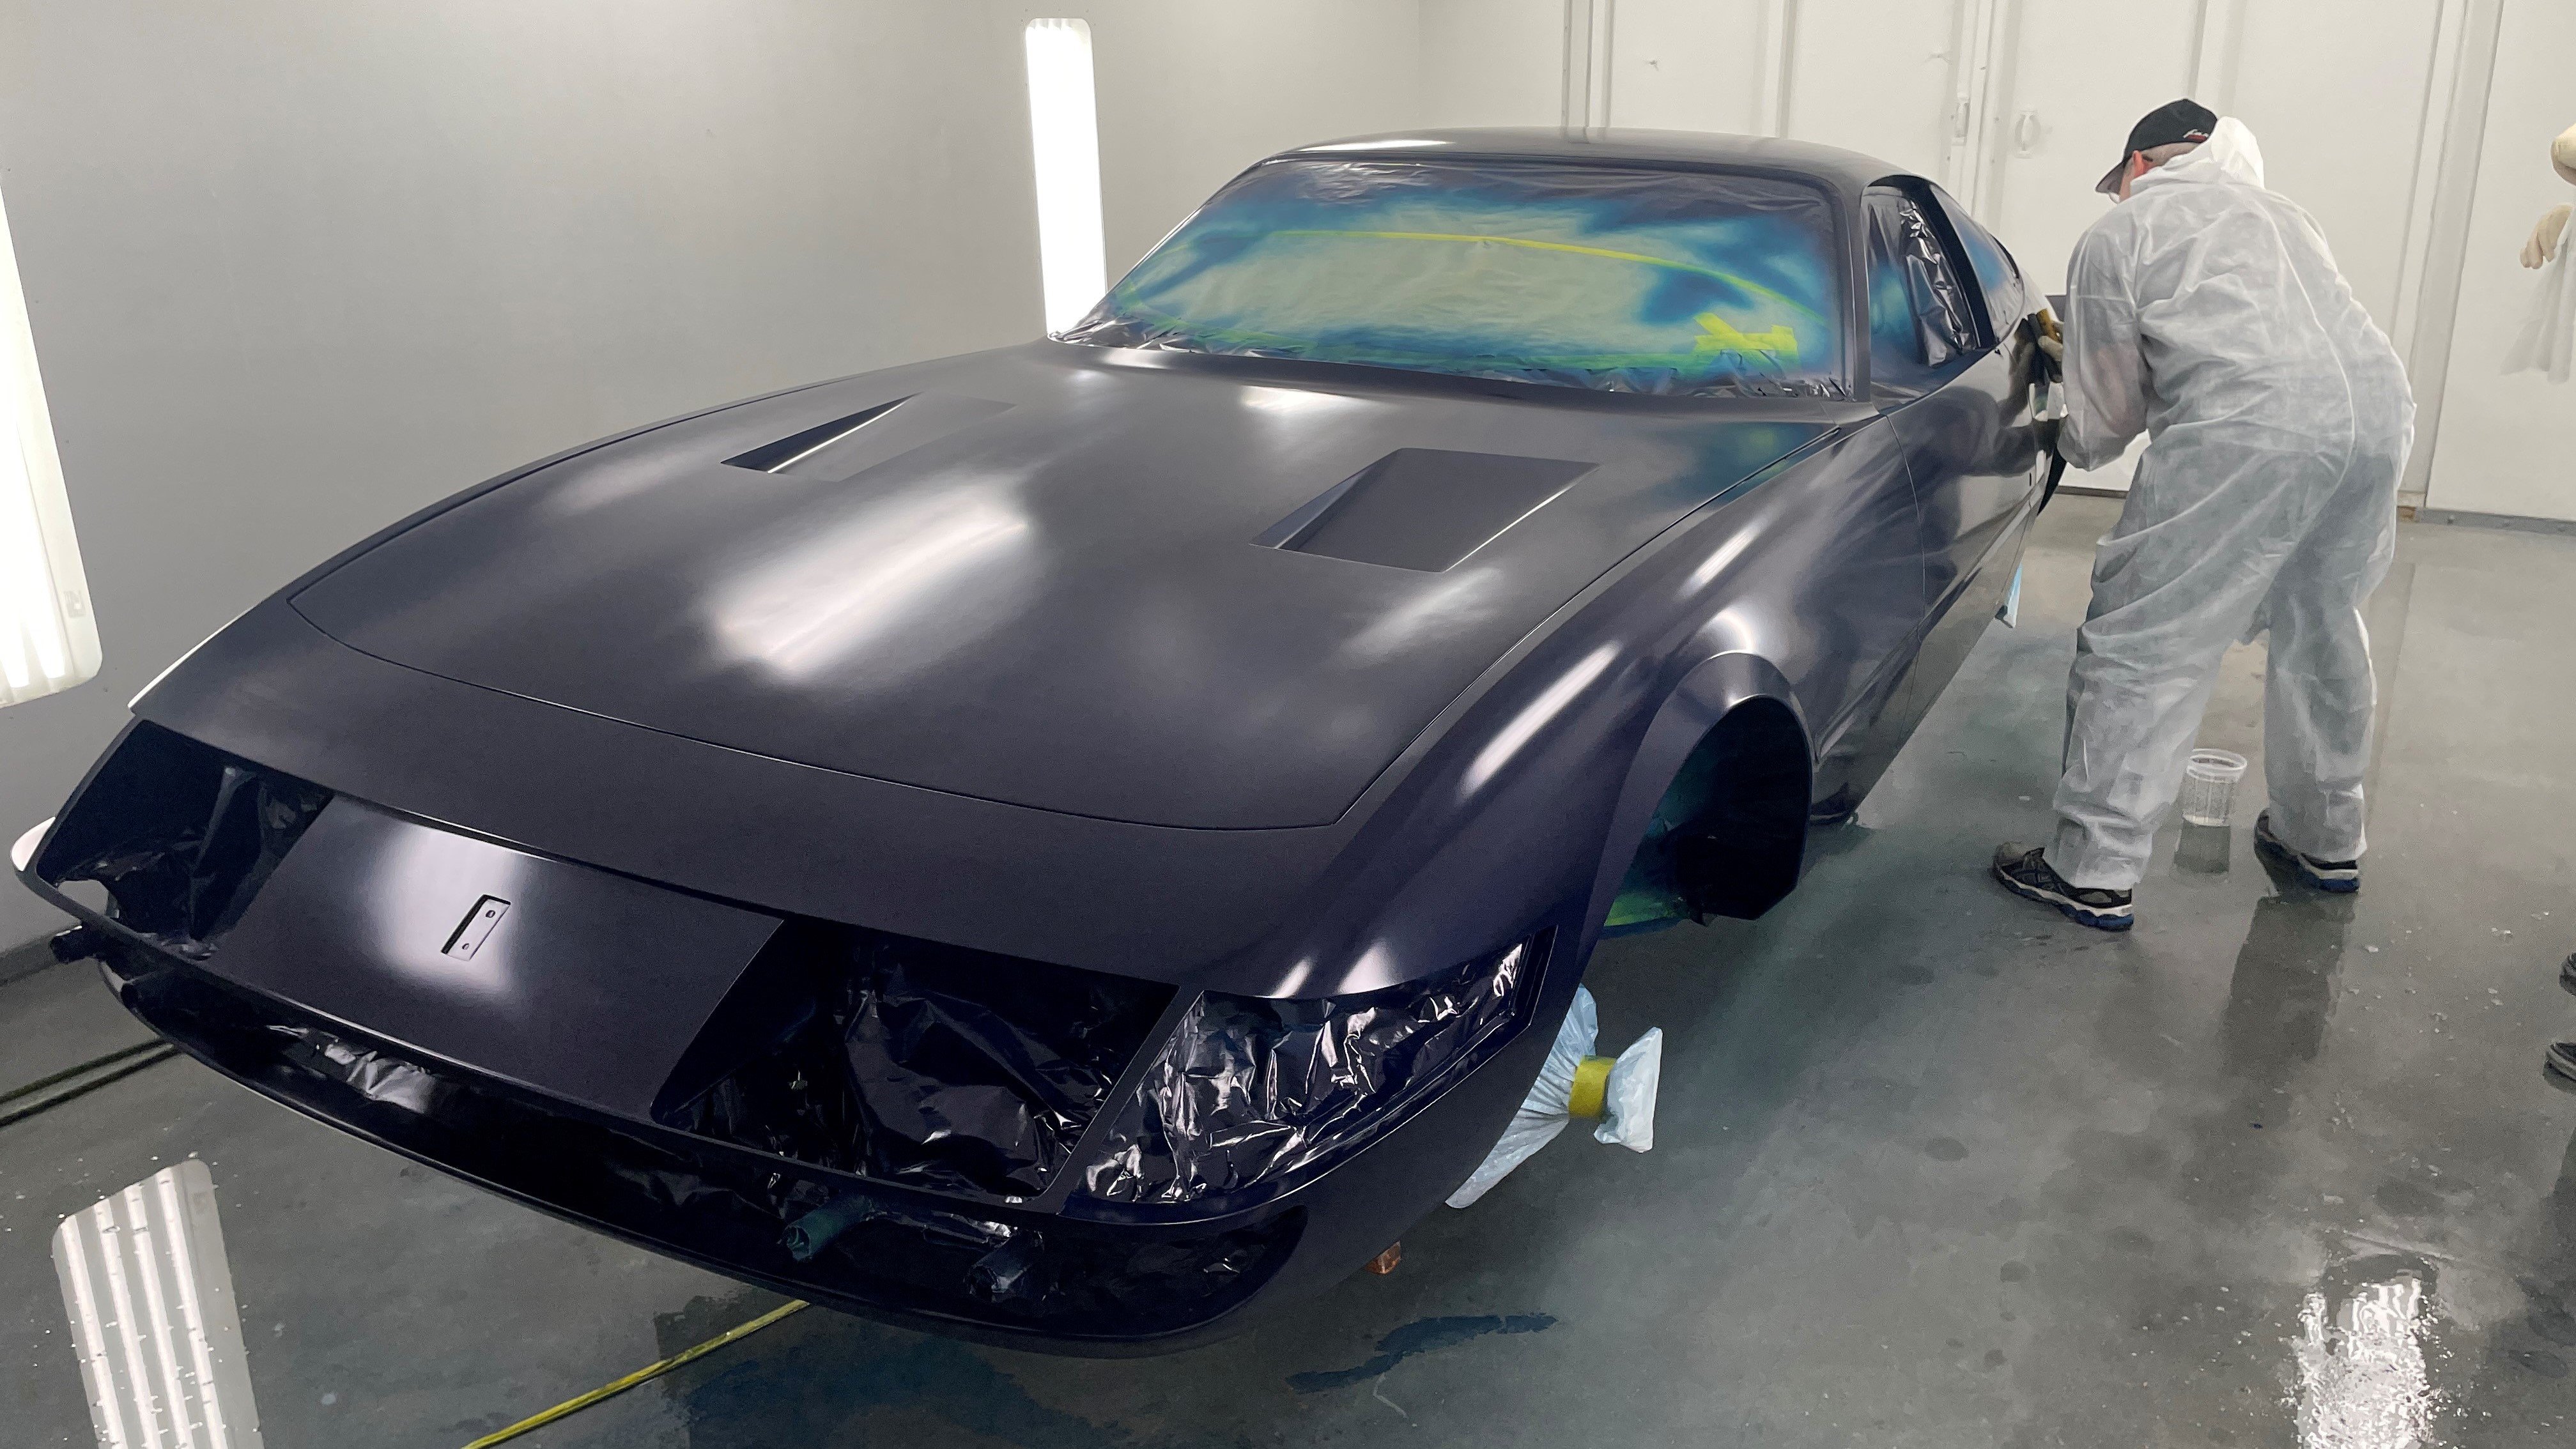
Throughout the painting process, you can really see how Jeremy's painting experience helps him to constantly analyze and see the best angles to lay the unique color evenly across the massive metal. The mechanic creeper also helps to get underneath doorjambs, along with the rocker panels smoothly and quickly. This ensures a consistent pace of spray throughout the entire coat of paint.
Once Jeremy had laid down three coats, the team felt the paint was showing good coverage and consistency. It was nearly 10 PM by this point, so we called it an evening and closed up shop. When we returned the following morning, the team was going back and forth on the clear coat process. By lunchtime we'd decided on clear coating the car while it was all together, ensuring no consistency issues from panel to panel and saving us a bit of time from another disassembly.
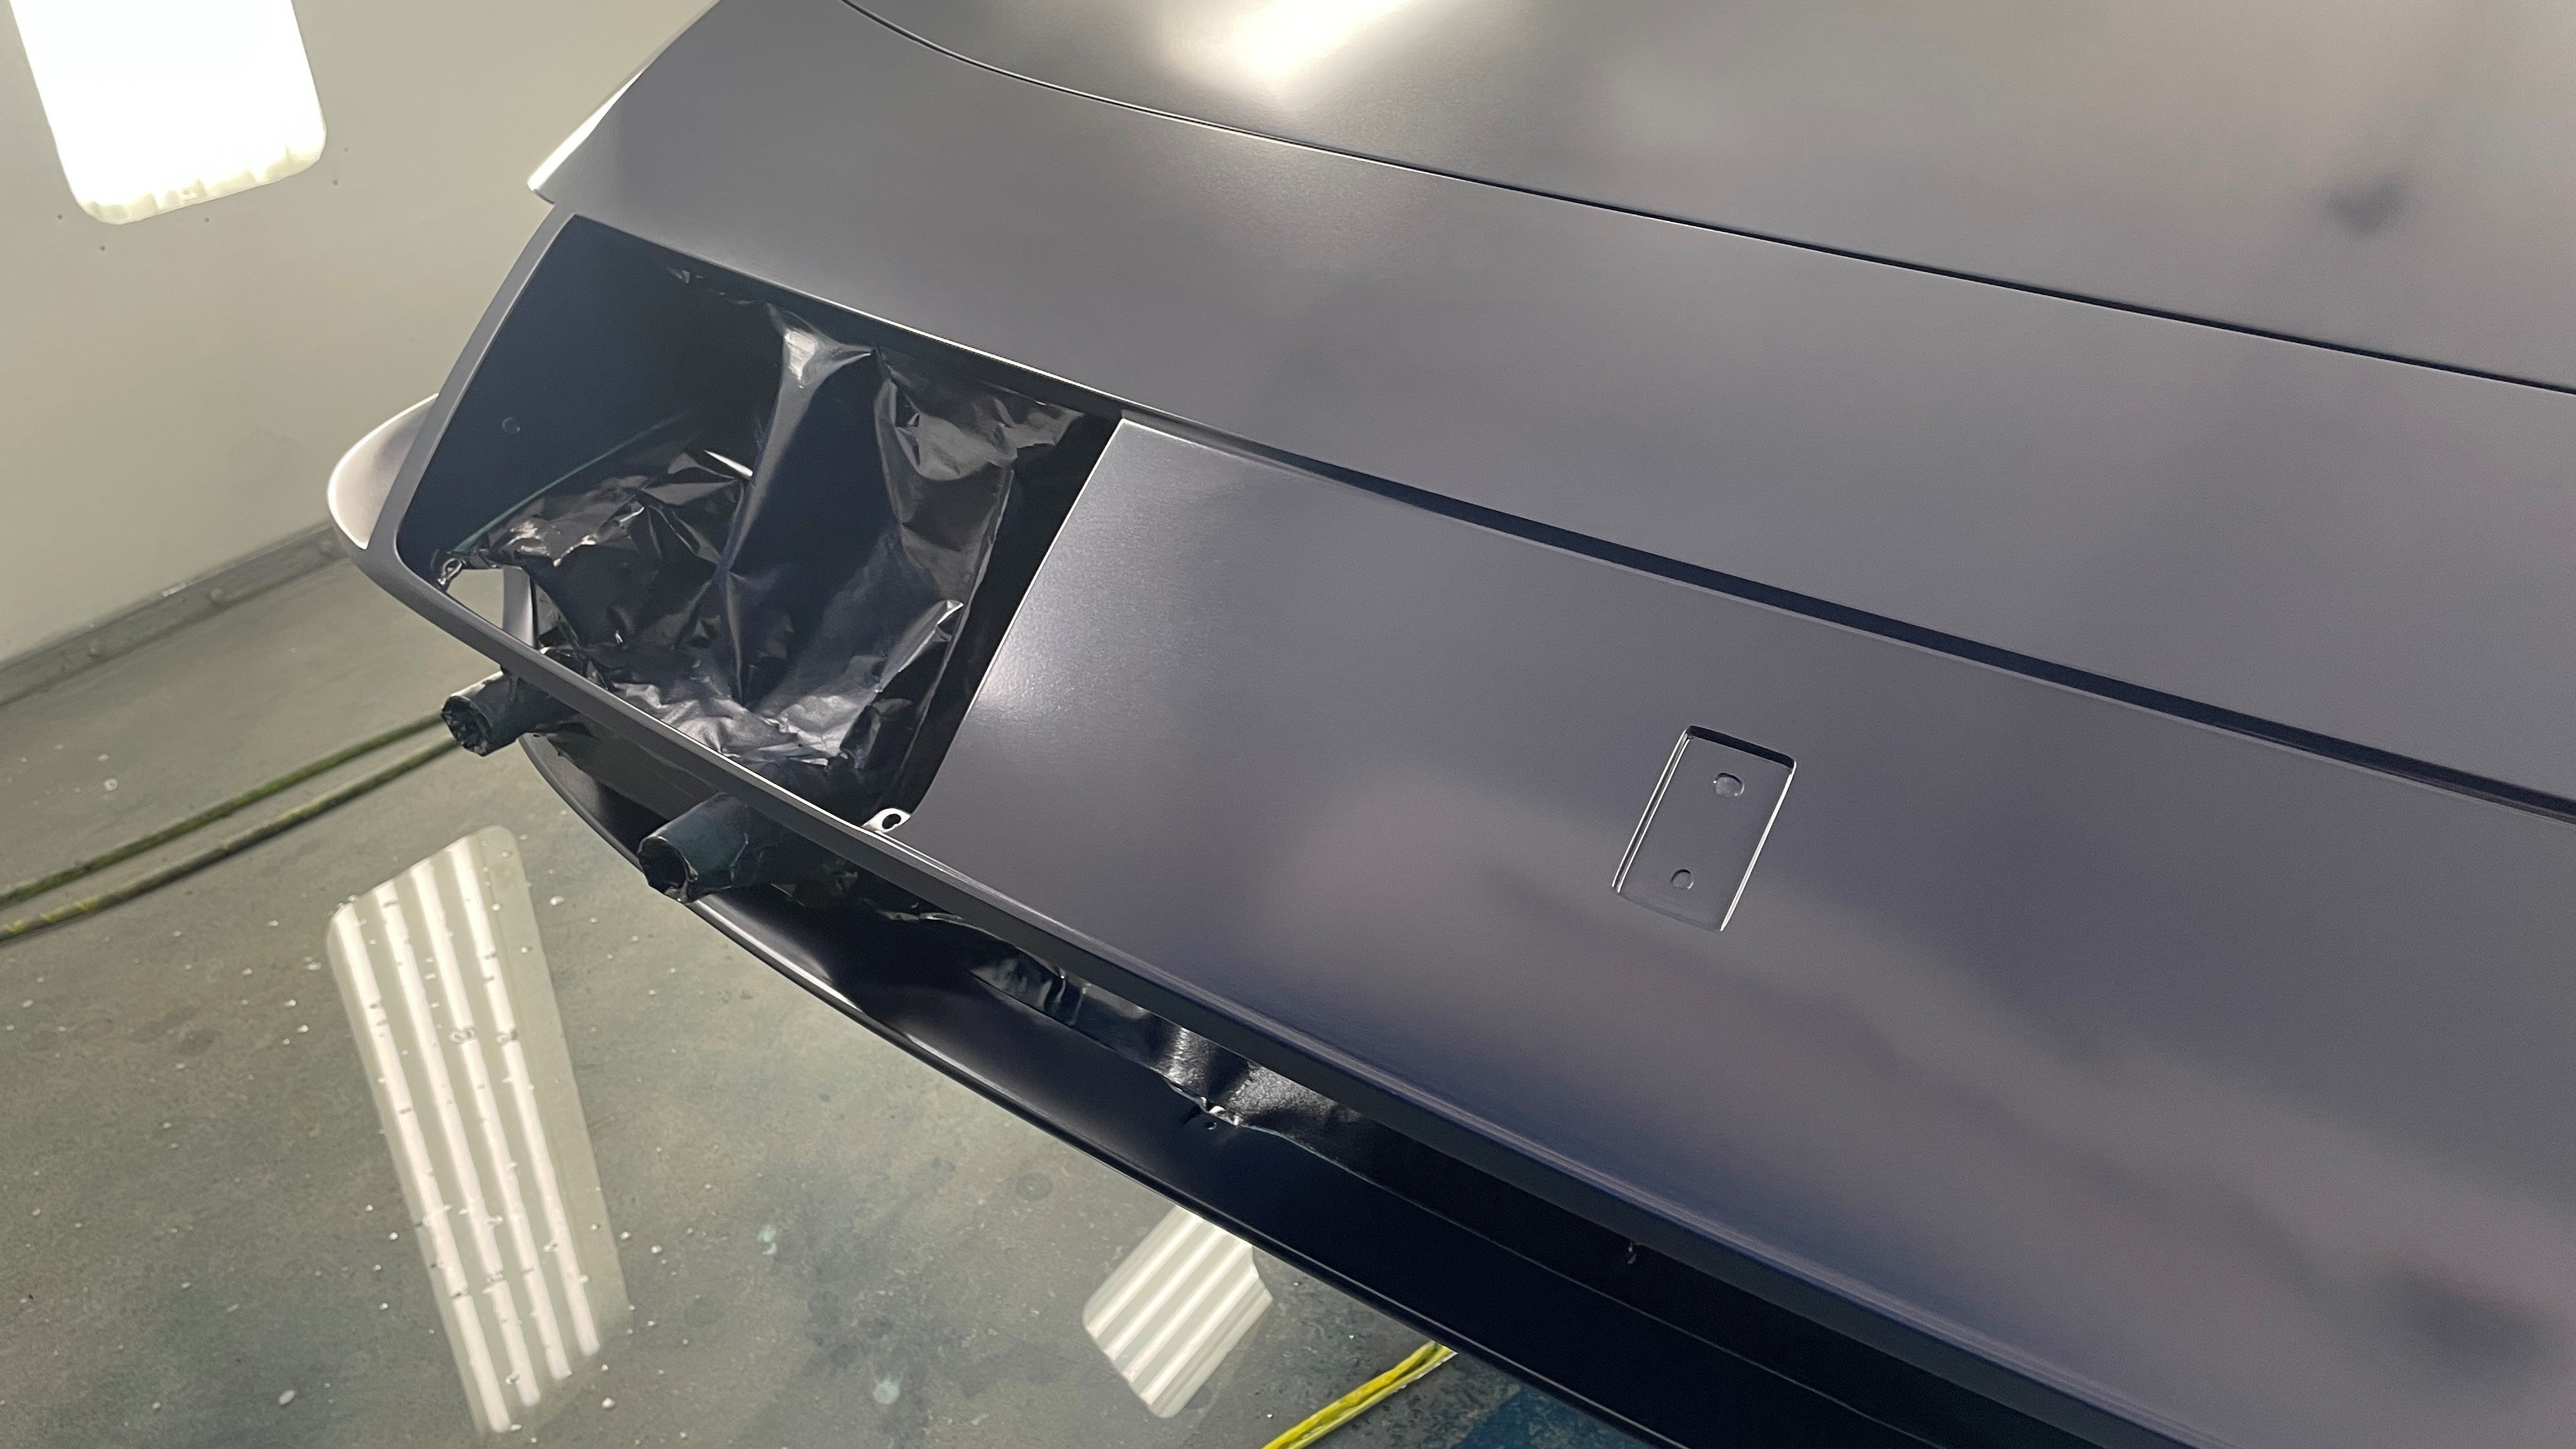
Now you're all caught up with the paint! We'll be getting back into the booth after lunch this afternoon as we get Jeremy spraying the first clearcoat over the car. Be sure to join us over on our Instagram page if you want to see it live! That's it for today! If you have a restoration of your own or needing help with the sale of your classic, send an email to info@farlandcars.com! Thanks!
