
Throughout the Classic Car restoration process and our day-to-day detailing jobs, our technicians and team must be well-versed in many aspects of classic car restoration. The in-house technicians can work in countless mediums. Meanwhile, our guys in the showroom keep up to date with title regulations, vehicle values, shipping logistics, and the sea-worthiness of the Amphicar. Today, we'll get a quick update from Pat. He'll highlight just some of the many hats our team members can wear here in the shop. Join us as Pat gives you the Hands-on Hullabaloo.
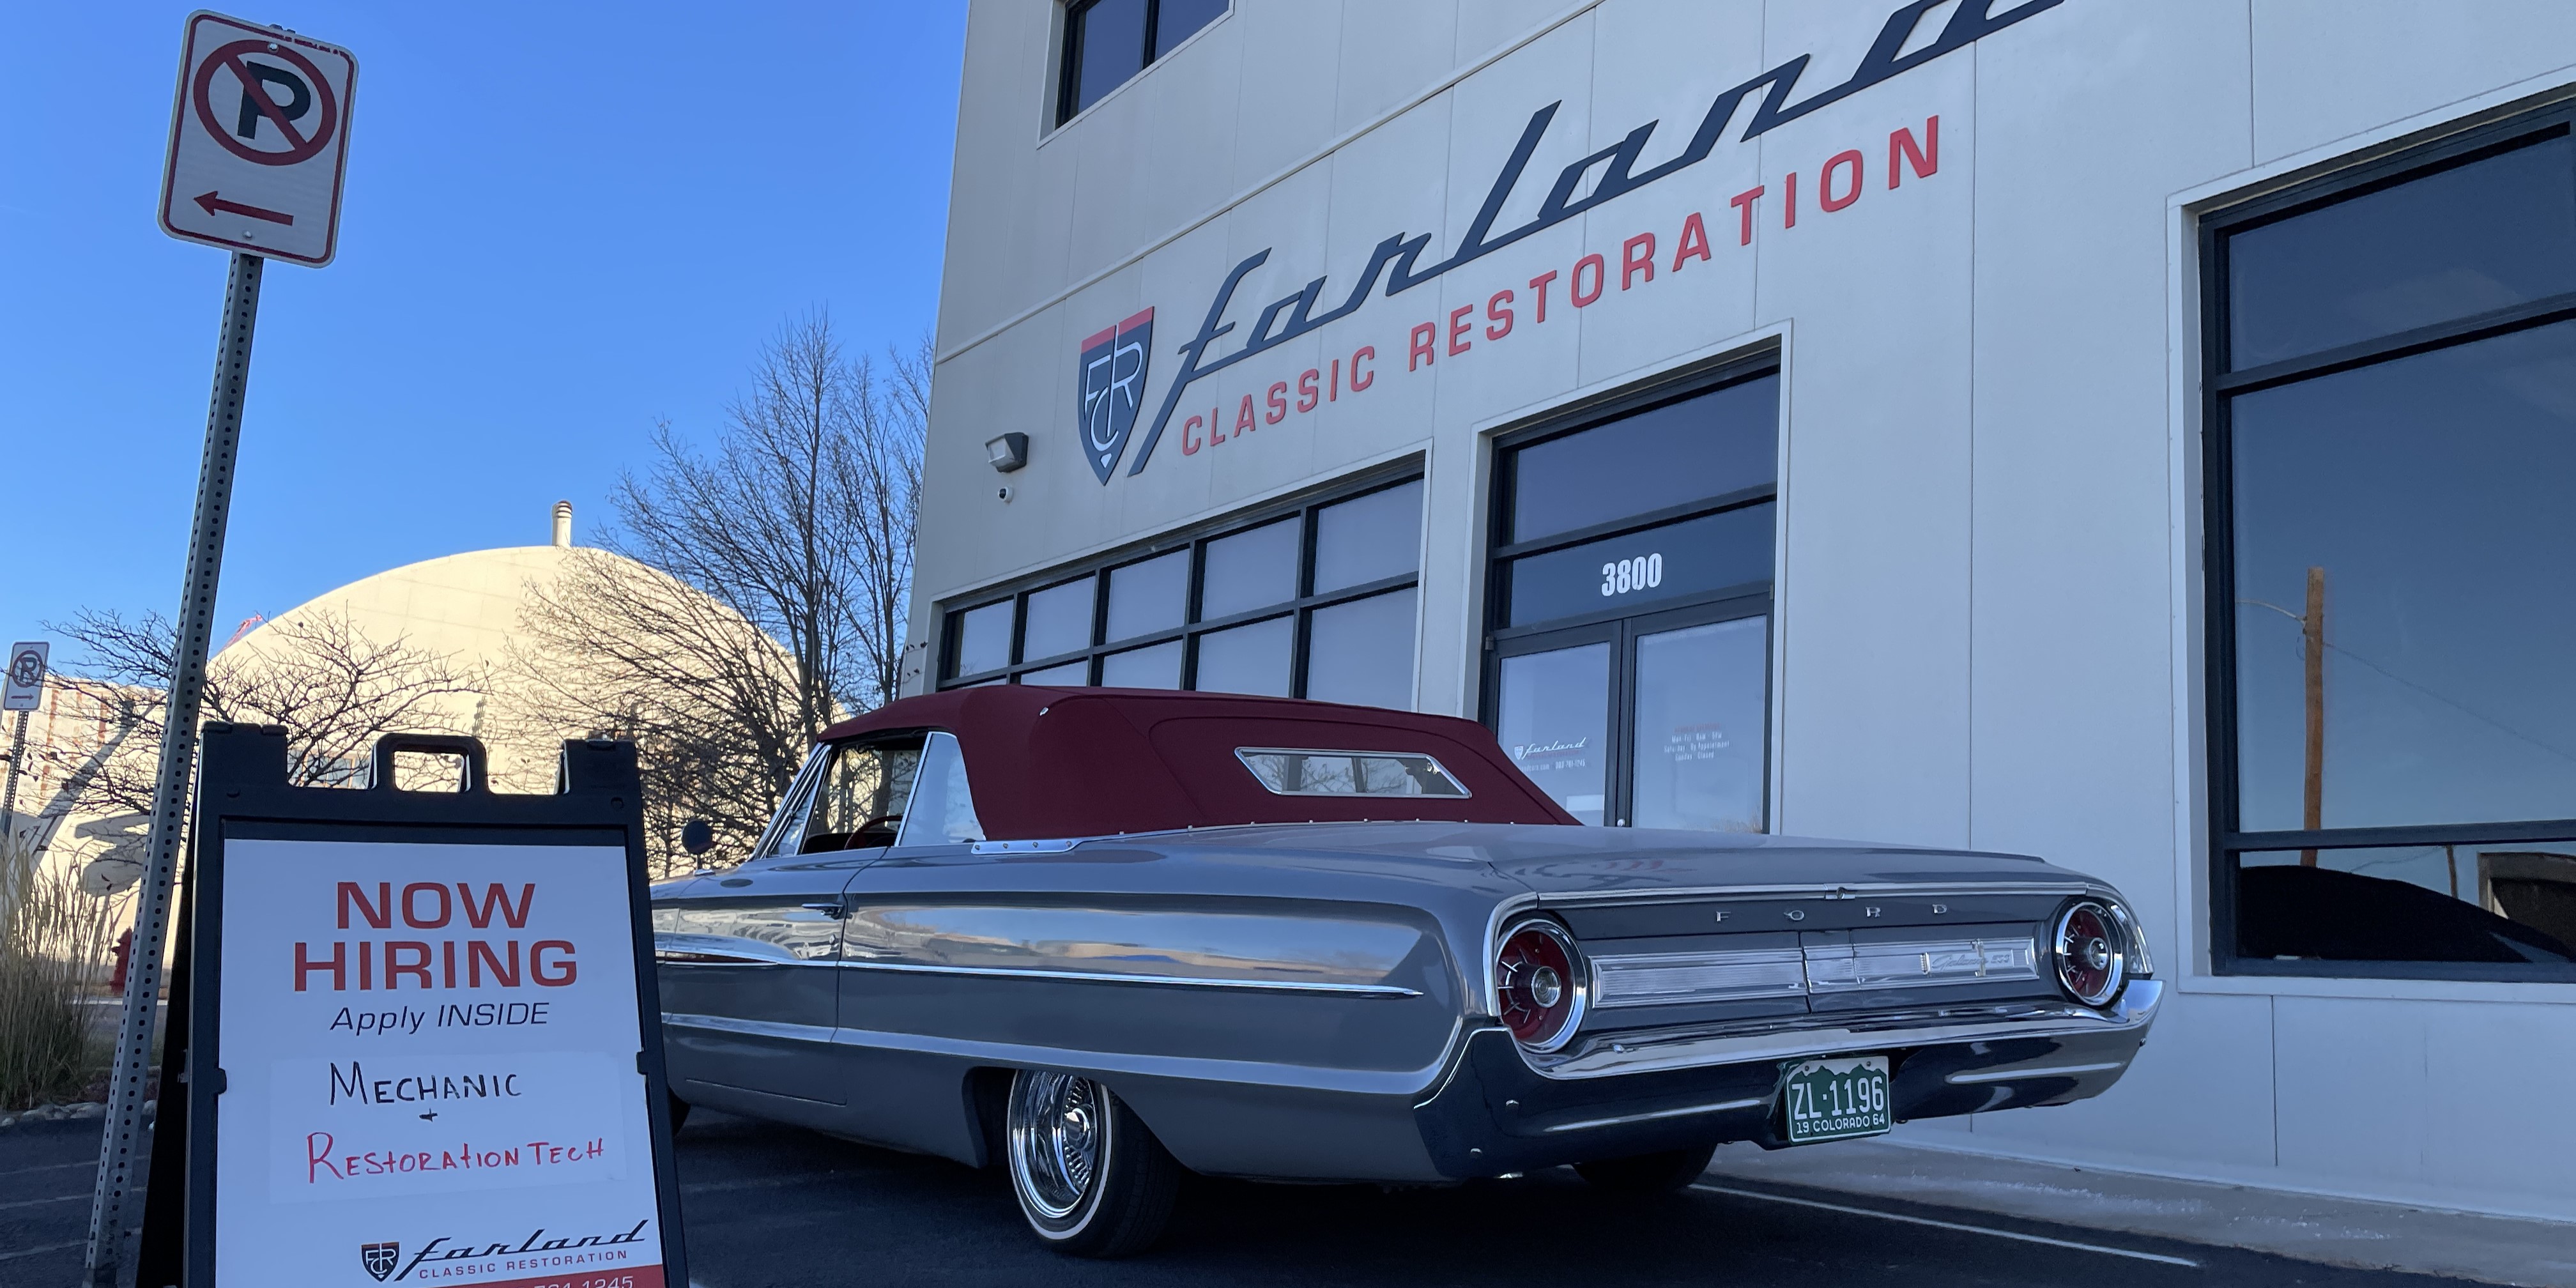
As many know, the classic car industry is struggling for talented technicians with an eye for detail. Many modern technicians are taught a "turn-and-burn" mentality at collision shops. These shops focus solely on book hours and completing jobs under a tight schedule. This prevalent mentality is counterintuitive to our highly-detailed and focused restoration work, which makes it challenging to find skilled help. We're always looking for experienced restoration techs; click here to learn more.
With the end of the year quickly headed our way, the team is pushing to get more restoration work out the door so we're ready for more in 2023! I was selected to help with a few projects in the building. At the tail end of last week, I had a hand in a few different projects: some assembly on the Porsche 912 Soft Window Targa, the disassembly of a 1966 Ford Mustang, and a bit of fit-and-finish on the late 1980s Jeep Pioneer.
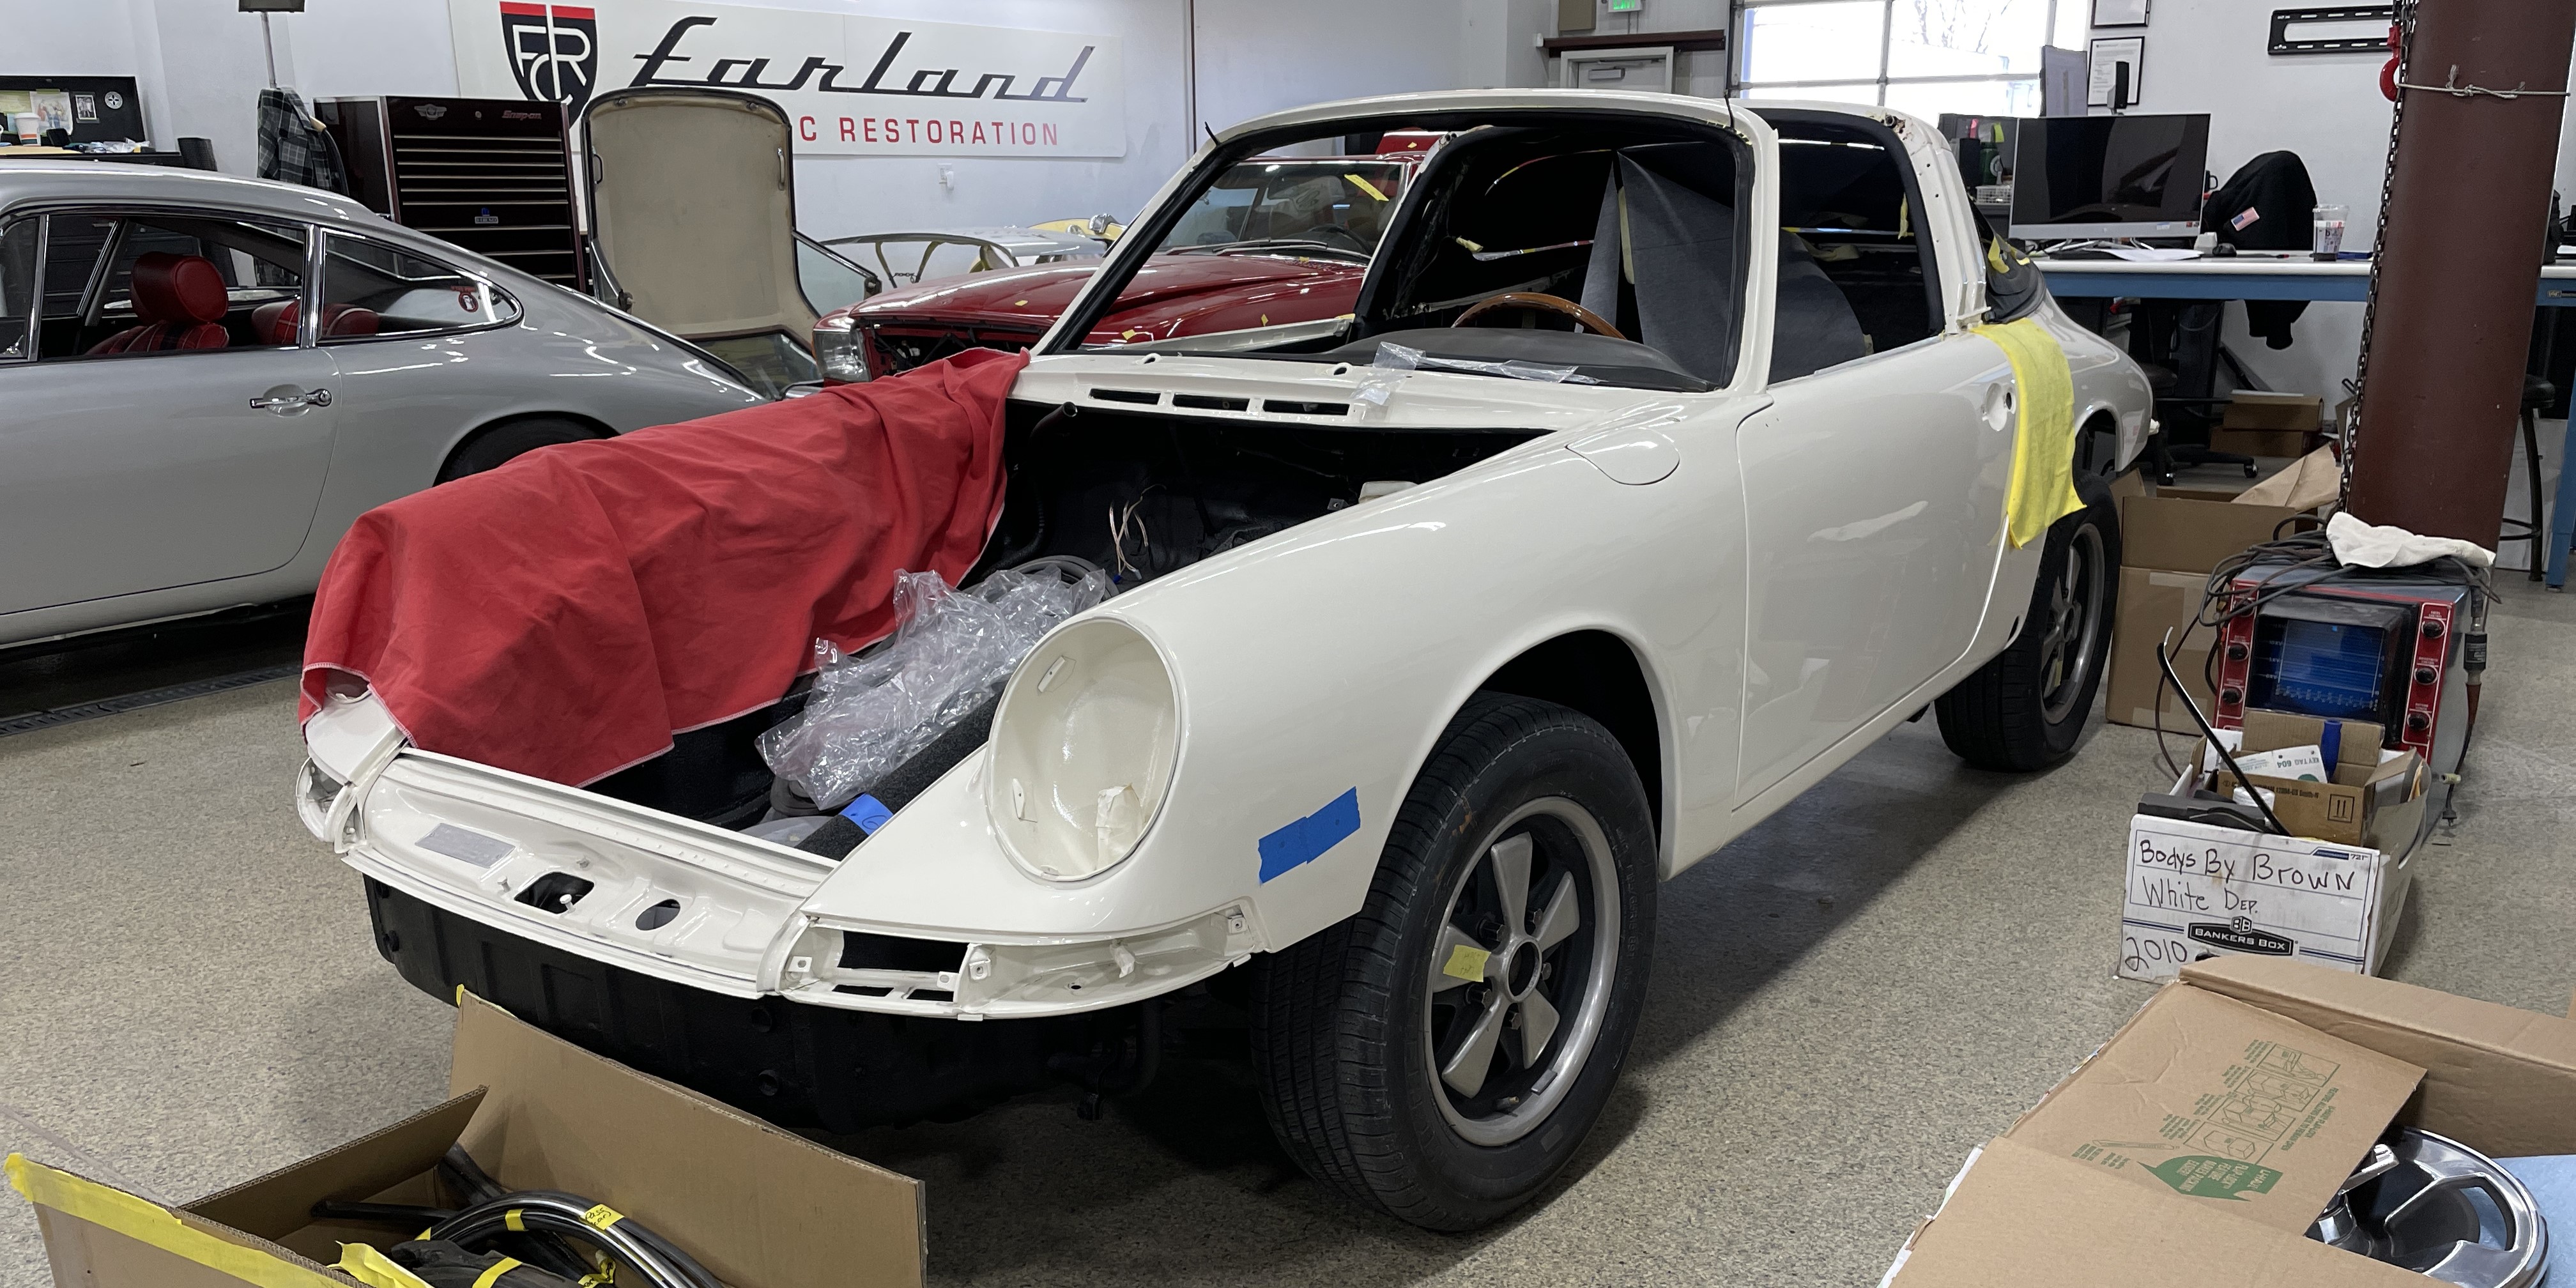
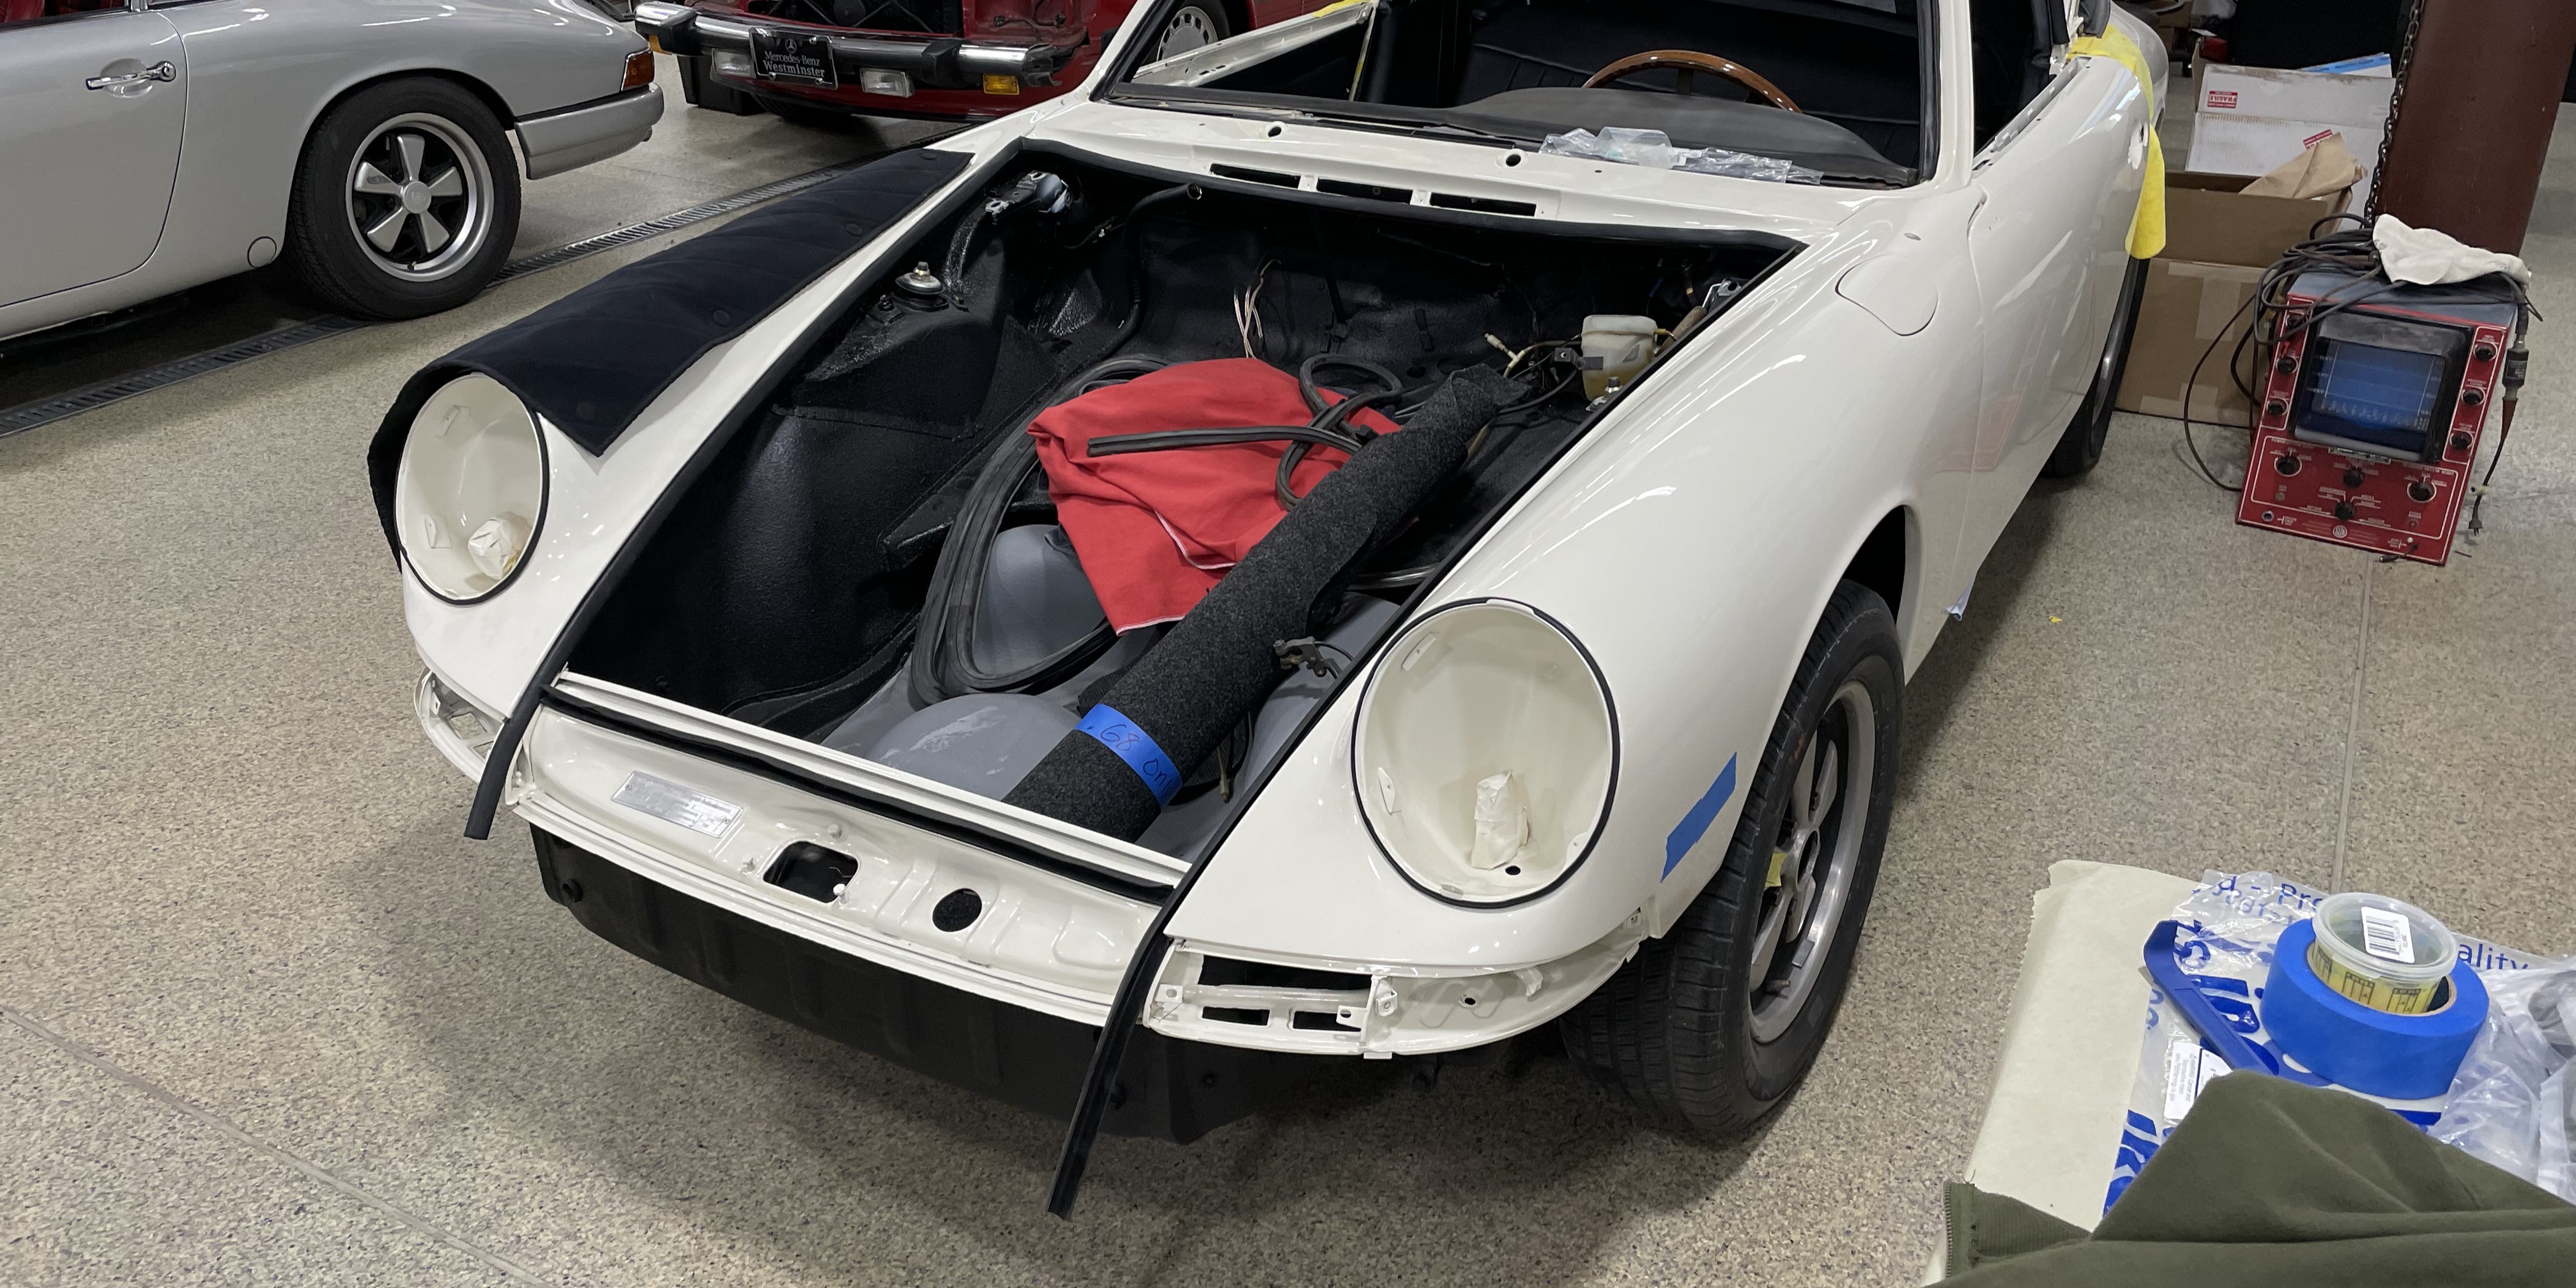
We started with a bit of alliteration and got Pat working on the Porsche first. This rare classic is undergoing extensive in-house restoration, bringing the running and driving example down to bare metal and giving it the full-Farland restoration treatment. Now the reassembly process has begun!
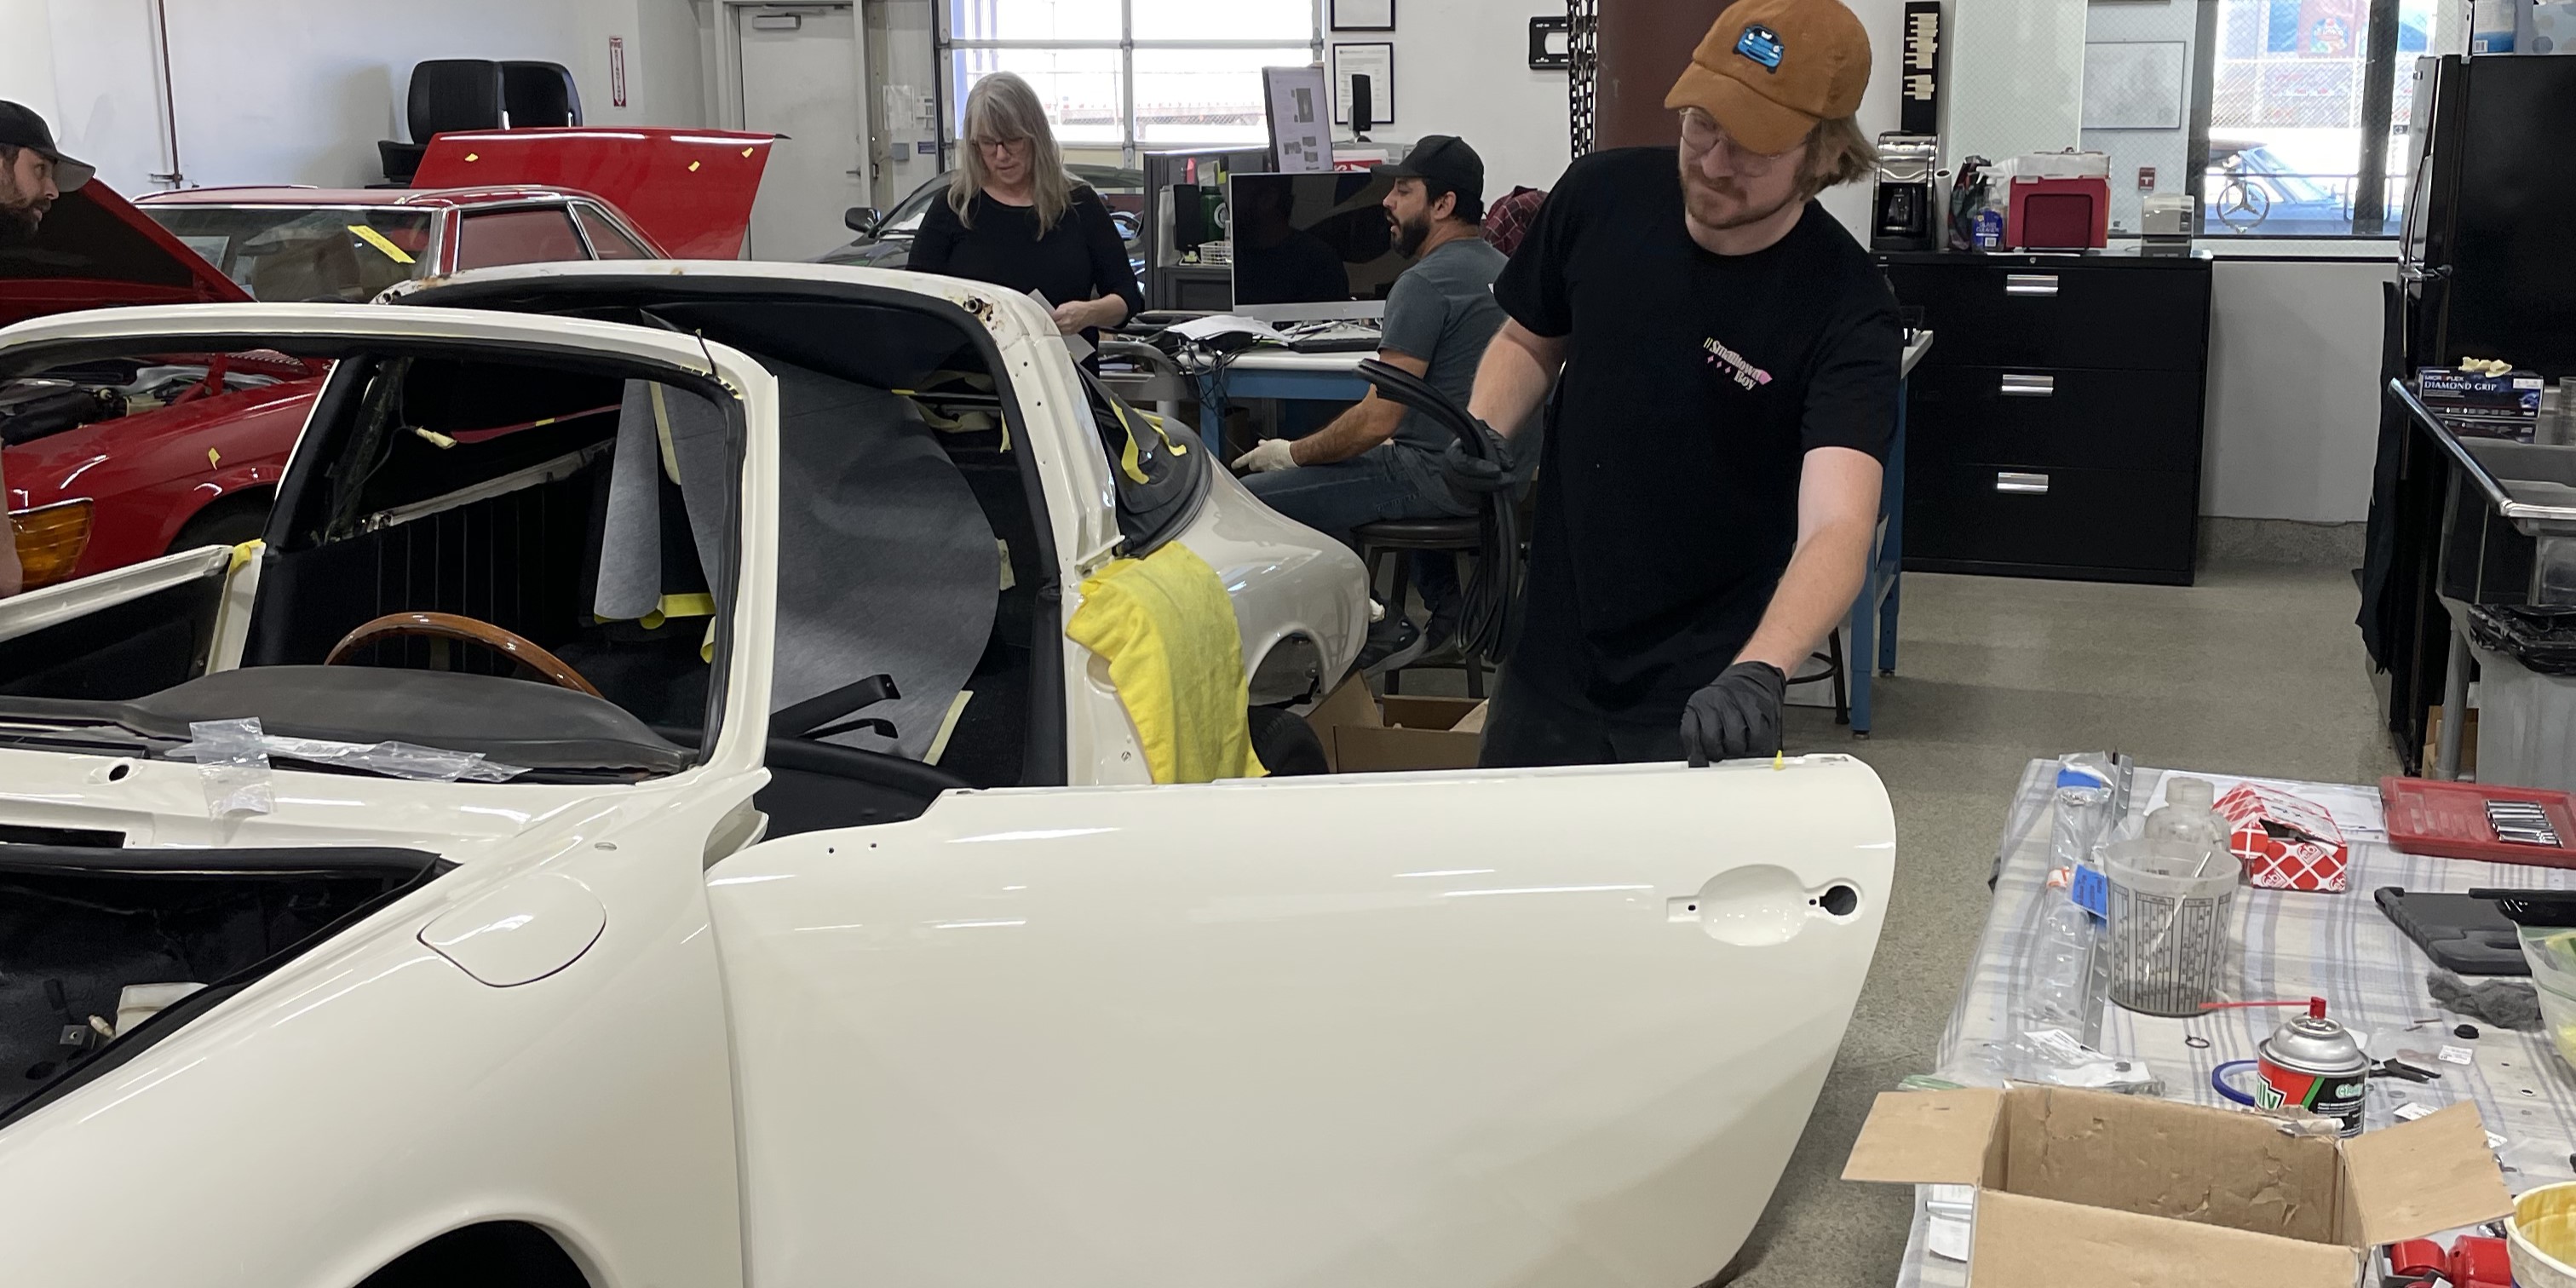
Our shop manager, Luis, asked me to clean and install some weatherstripping. This install allowed him to keep an eye on my work and get a feel for my hands-on ability. After finding the correct seals and doing some test fitting, Luis got a few minutes to show me the installation process. He highlighted the nuance of prepping the weatherstripping and body channels. Then, we worked on using appropriate adhesives and wait times to ensure a proper seal.
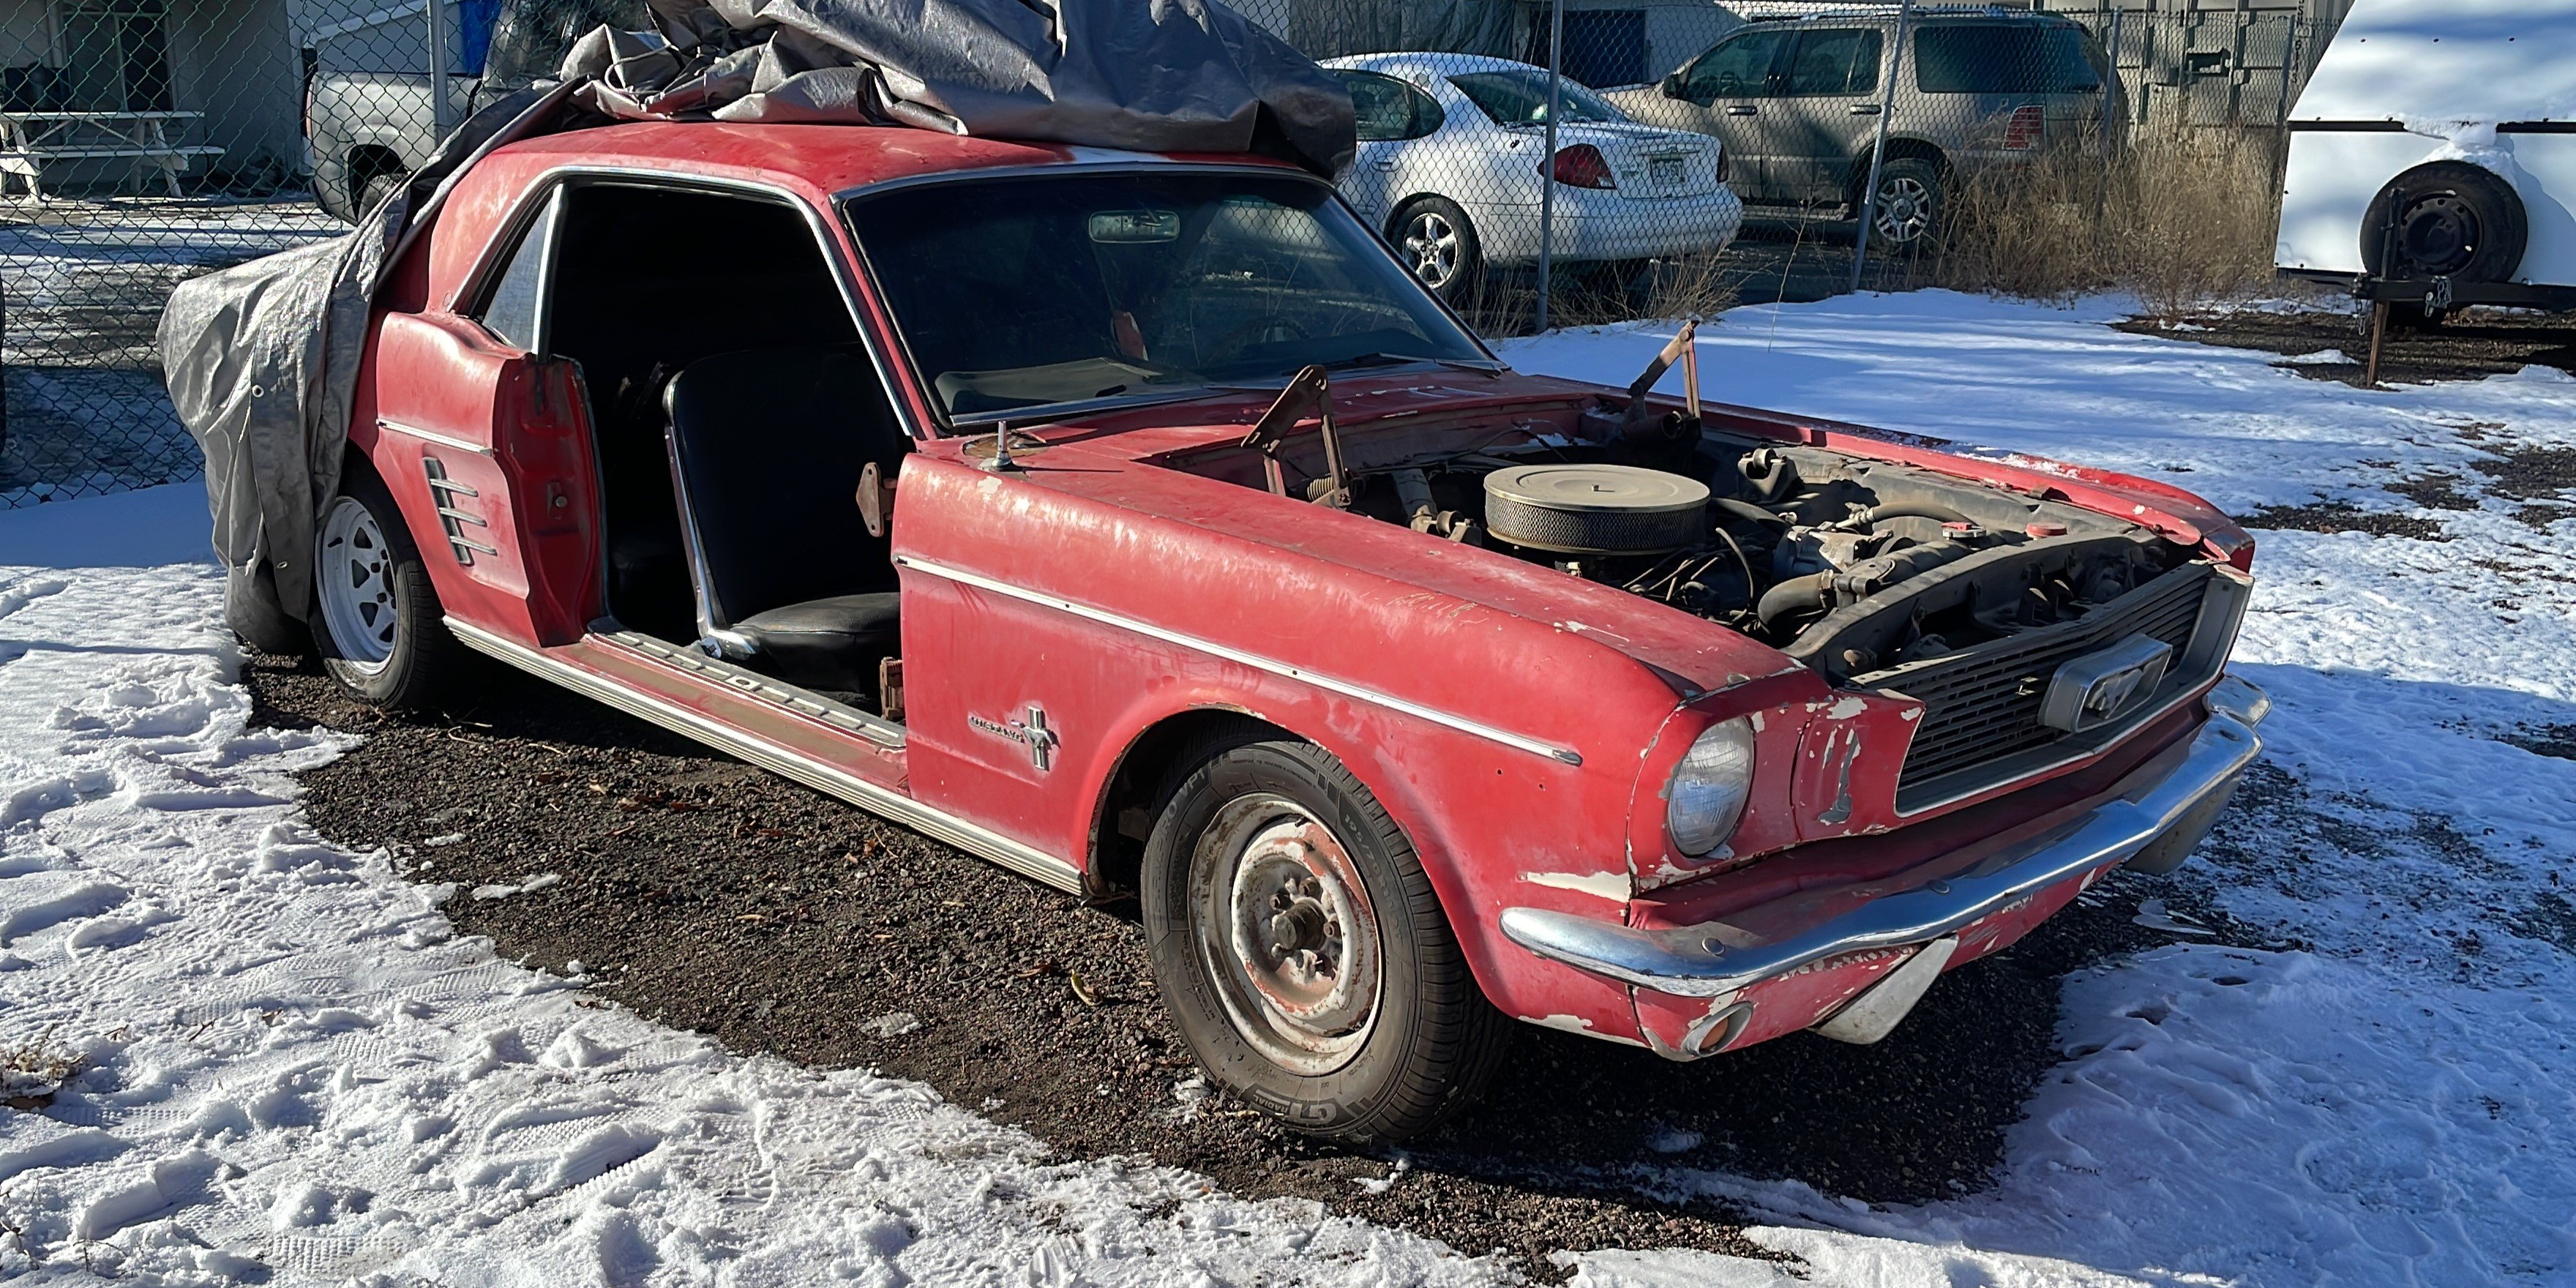
While the Porsche weather seals found time to adhere, I moved over to the recent addition to the shop, the 1966 Ford Mustang. This car came to us for an extensive restoration and is the Farland way; this Mustang showed up as part of a pair. The 1966 Convertible example has recently gone through sandblasting and prep. During the sandblasting, our team found that both the doors and the hood had seen better days. I dug into pulling the hood and doors from the donor coupe. Once I removed the doors, I got my first taste of disassembly and documentation.
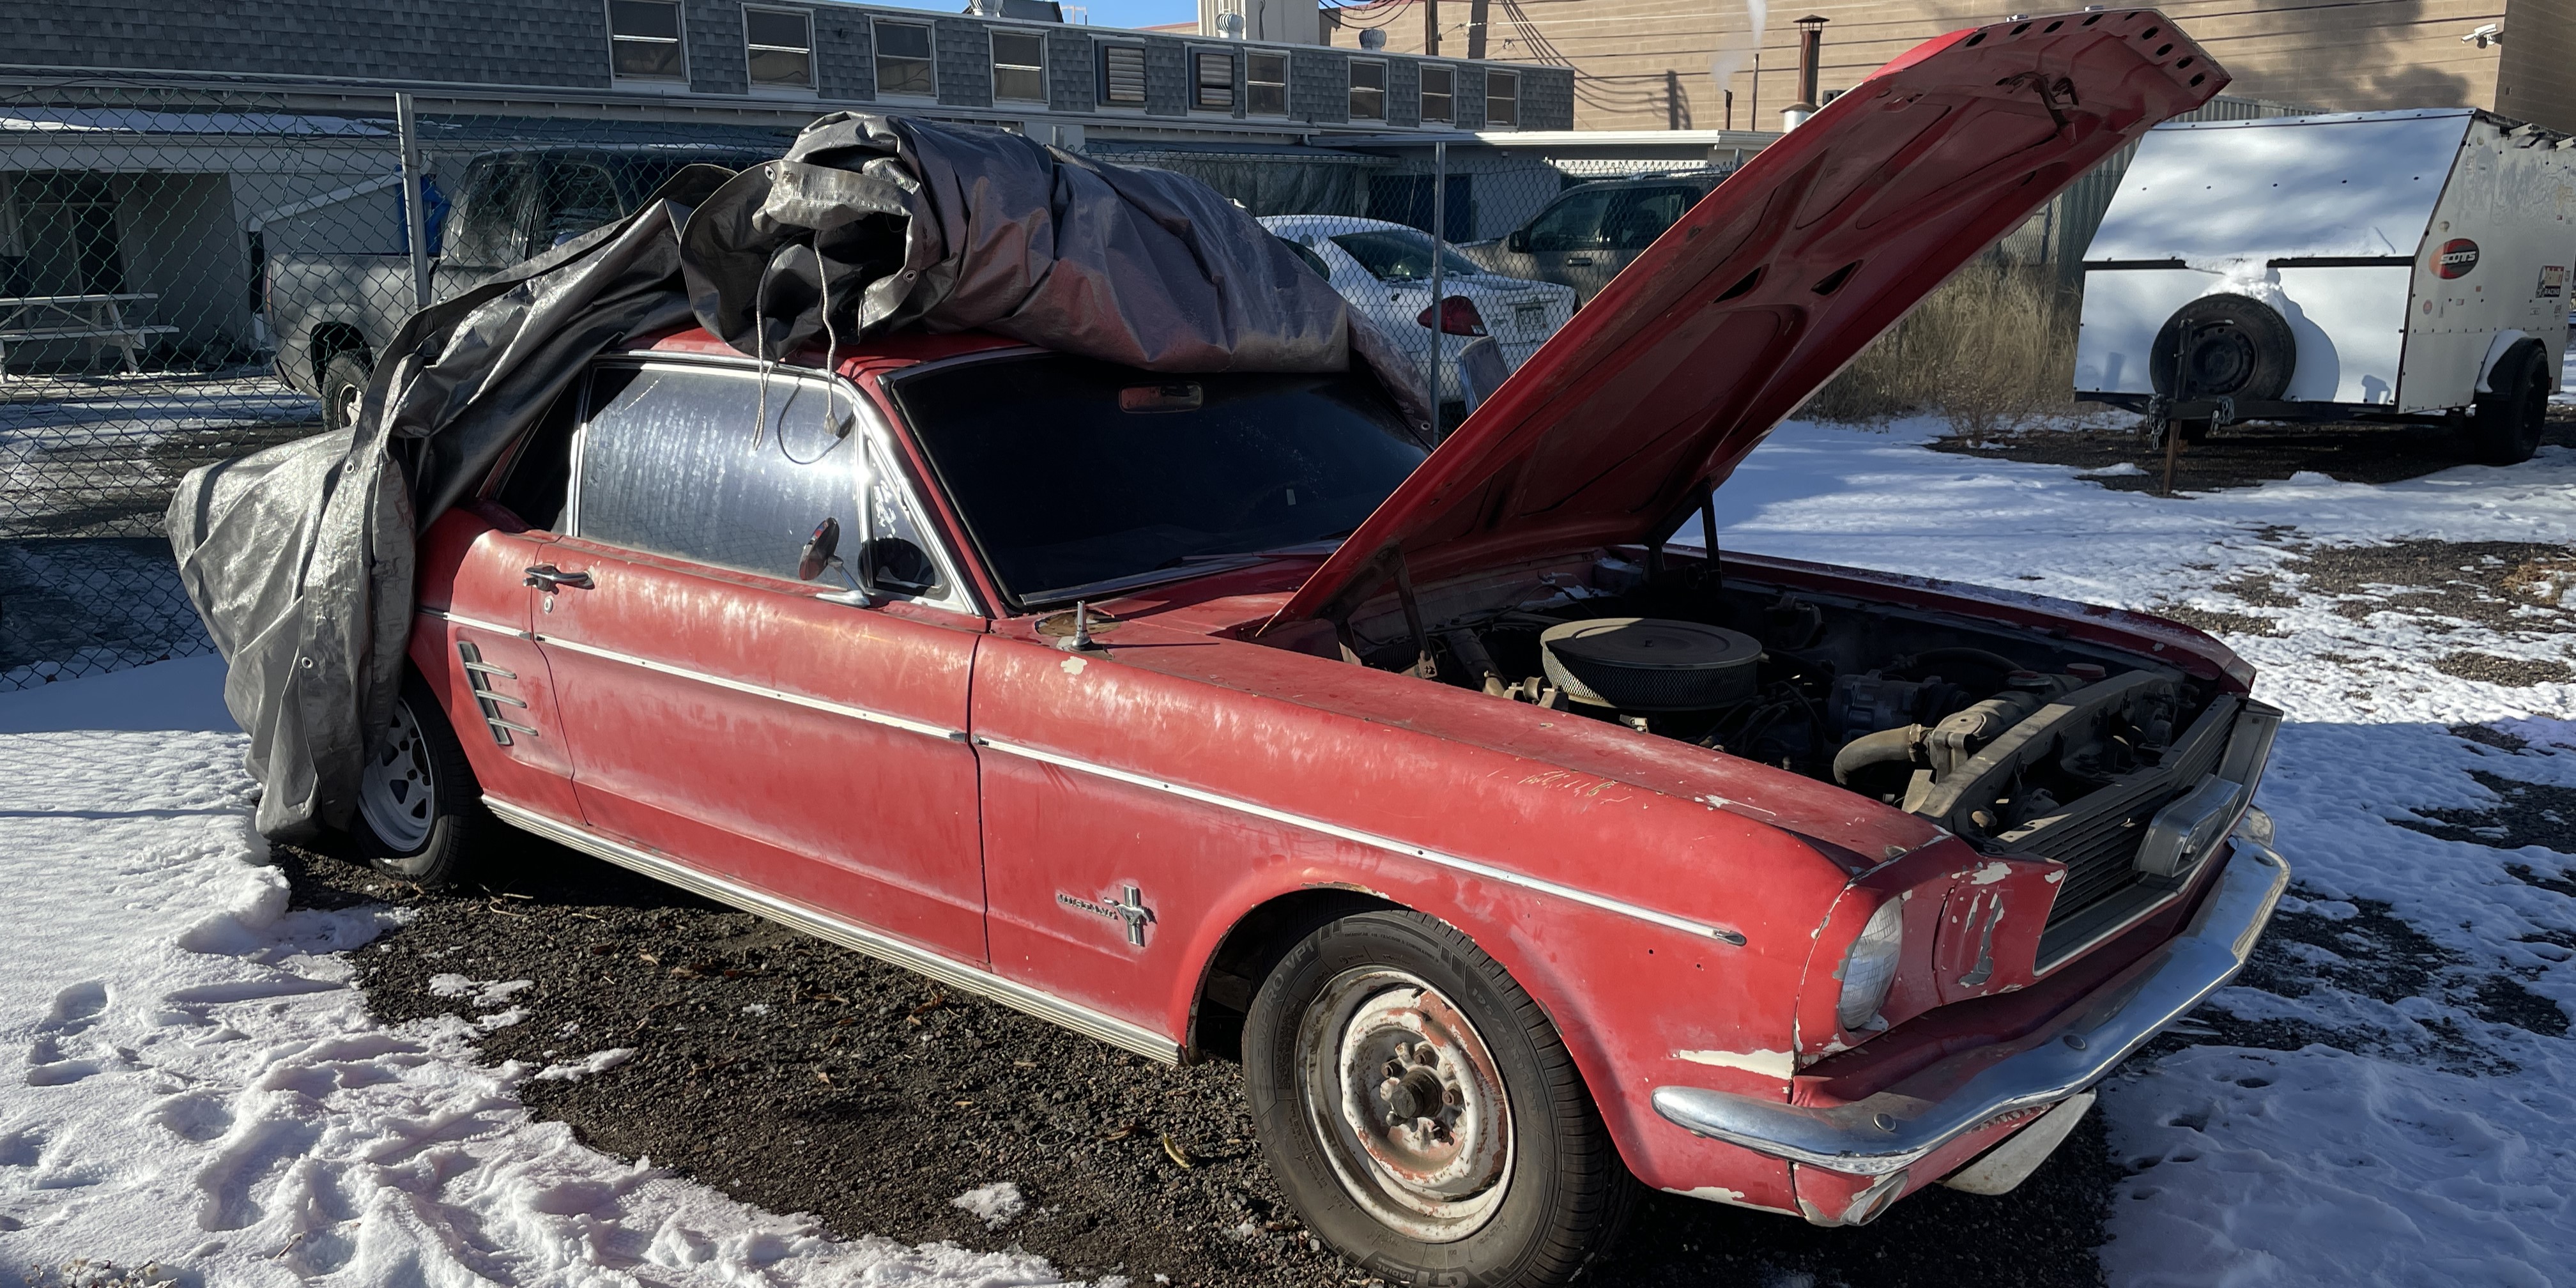
As I got involved with the documentation process, I quickly began to see how technical and specific the process should be. Within a few minutes, our technician Josh had pulled me aside and highlighted the Farland standard for documentation, showing off the tables of sandwich baggies labeled with only 2-3 bolts or small hardware pieces in each. His process helped me better identify how I was documenting and photographing. His insight and hands-on experience gave me a more considerable appreciation for disassembly. After getting the doors disassembled, glass removed, and trim pulled, I ran the panels across the block for sandblasting and went for lunch.
When I got back, Luis moved me to reassembly. This Jeep Pioneer came to us a few weeks ago for some general cleanup and a few minor issues with the vehicle, including a minor rust repair in the rear passenger quarter panel, a few wiring concerns, a rear-view mirror, and addressing a worn-out front grille. Thanks to earlier documentation, it was easy for me to jump in and reinstall the driver's seat. I grabbed the parts from a sandwich bag labeled "driver's seat mounting hardware," and from there, I re-adhered the rear-view mirror and replaced the lining on the underside of the hood.
At this point, I had become much more confident in my hands-on abilities, and as our metal master pointed out, "slow is fast". Spending a bit more time to prepare you can save yourself, other technicians, and the customer countless hours on the reinstall. Once it is all said and done, these classics will often head over to the showroom for a quick stop. Lear more about the fun going on in the showroom down below.
That's going to do it for the update this week. I'm getting ready to head back to help out on a few more of the Colorado Classic Car Restorations moving through the shop. If you have a classic looking for its next owner or just a bit of restoration and detailing work, call us at 303-761-1245, or you can email info@farlandcars.com. Thanks for stopping by!